These Cheese Stuffed Bagels are outrageously delicious and so simple to make!
Sure, bagels are great. But cheesy loaded bagels are (objectively) even better 😛 Follow me…

Cheese Stuffed Bagels
To turn these bagels cheesy, we’re actually going to be adding the cheese inside the bagels. So from the outside it looks like a regular bagel, but it’s secretly oozing with cheese in the centre.
What Cheese to use?
Hands down the best cheese to use for this recipe is Cheesestring. It fits PERFECTLY in the centre of the bagel and has the perfect gooey, stringy texture when it melts.
What Bagel to use?
I recommend just regular bagels, because we’re going to brush them with garlic butter. But you can use other varieties if you’d prefer (sesame seeded, everything bagels etc).
Process shots: slice bagel 2/3 way up (photo 1), slice around centre (photos 2&3), firmly press to the sides (photo 4), slot in the cheese (photo 5), add top back on (photo 6).

Cheesy Garlic Bagels
Just to take these up a notch, and to ensure they don’t dry out in the oven, we’re going to be slathering them in garlic butter.
For this all you need is melted butter, garlic and parsley. Just ensure your garlic is very finely diced and then mashed into a paste-like texture with the blade of your knife. This will prevent it from burning.
Do I have to add the garlic butter?
In short – no. But it does add gorgeous flavour. If you don’t fancy the garlic butter I’d still recommend brushing in a little butter though, just to prevent the bagels from drying out in the oven.
Process shots: In a small pot add melted butter, garlic & parsley (photo 1), mix (photo 2), brush bagels (photo 3), bake in the oven (photo 4).


Serving Cheesy Bagels
These are perfect as they are for Lunch. They make an awesome substitute for Garlic Bread where you’d usually serve that (Lasagne, Spaghetti Bolognese etc). They’re also great for dunking in Tomato Soup!
Looking for another stuffed bagel recipe? Check out my Breakfast Quiche Stuffed Bagels and Bacon Cream Cheese Stuffed Bagels!
Alrighty, let’s tuck into the full recipe for these cheese stuffed bagels shall we?!

How to make Cheese Stuffed Bagels (Full Recipe & Video)

Easy Cheesy Bagels
Equipment
- Large Baking Tray
- Sharp Knife & Chopping Board
- Small Pot & Brush
Ingredients
- 4 Bagels
- 8 Cheesestrings (see notes)
- 2oz / 60g Butter, melted
- 2 cloves of Garlic, very finely diced then mashed with the blade of your knife
- 1 tbsp very finely diced Fresh Parsley
Instructions
- Slice the bagels about 2/3 of the way up and place the top slice to one side. Run a knife around the centre of the bottom slice, making sure you don't go all the way through (see video for guidance). Carefully but firmly use your thumbs to push the centre of the bagel to the outside, making way for the cheese.
- Bend two cheese strings into the centre of the bagel, then pop the top slice back on. Repeat and place on a large baking tray.
- In a small pot combine melted butter with garlic and parsley. Use a brush to brush the garlic butter on top, around the sides and in the middle of the bagels.
- Bake in the oven at 180C/350F for 10-15mins, or until the bagels are deep golden and crispy, with the cheese in the middle completely melted (you can lift the top slice slightly to check).
Video
Notes
Your Private Notes:
Nutrition
Looking for more?
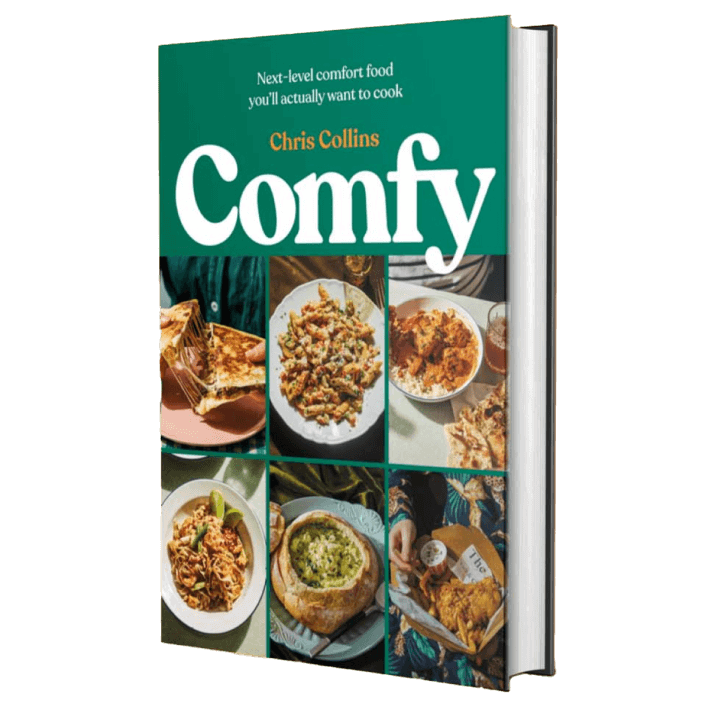
You’ll find plenty more delicious comfort food like this in my Debut Cookbook ‘Comfy’
Looking for more cheesy garlicky goodness? Check out my Easy Cheesy Garlic Bread!
Recipes using Bagels
If you loved this Cheese Bagel recipe then be sure to Pin it for later! Already made it or got a question? Give me a shout in the comments and pick up your free ecookbook along the way!


Kids loved these. Thanks.
Thanks Jane! 🙂