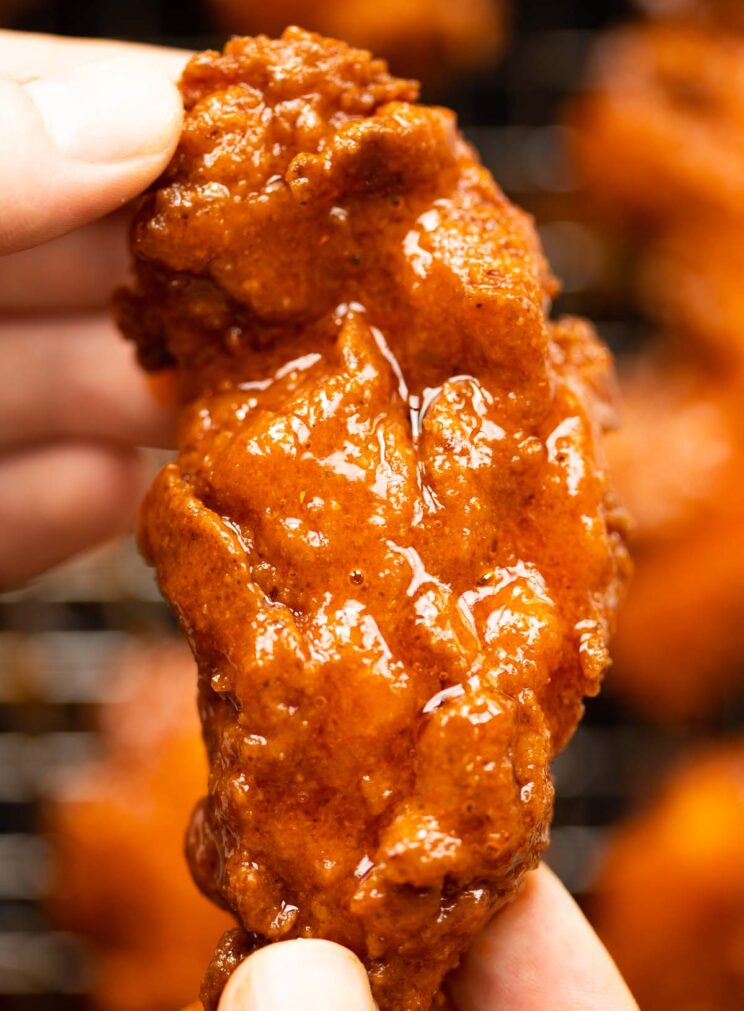
These Nashville Chicken Tenders are spicy, crispy and absolute packed with flavour!
I recently went to Nashville for the first time and it’s officially one of my favourite places on earth. Not only because I love me some country music, but potentially more importantly, the fried chicken. Oh, the fried chicken, let me tell you. Actually you know what, let me show you. Follow me…
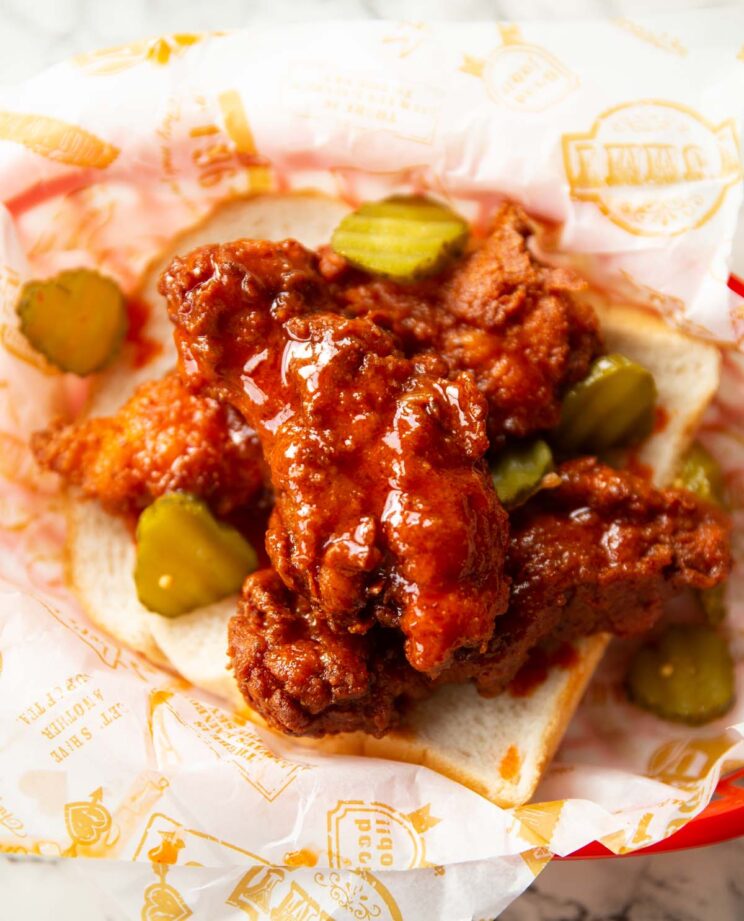
Nashville Chicken Marinade
The fried chicken in Nashville is darn good. We accidentally stumbled across Hattie B’s one day, not knowing it was one of the most iconic fried chicken joints around. Good heavens was this chicken good (if you know you know). Today I’m sharing with you my take on the classic hot fried chicken. And for ease, we’re going to be using tenders!
Nashville Chicken Marinade Ingredients
- Buttermilk – This is a key component in any fried chicken recipe as it helps tenderize the chicken. It also has the perfect consistency for clinging to the chicken and dredging through flour to build up a thick crust.
- Pickle Juice – I was speaking with a local about fried chicken and he gave me this tip. It totally makes sense, seeing as fried chicken is often served with pickles/gherkins. The brine from the jar helps add flavour to the chicken AND helps tenderize it.
- Hot Sauce – Hot fried chicken is called hot for a reason. Adding hot sauce to the marinade gets the party started right from the get go.
- Egg – This is to help bind the breading to the chicken. I don’t always add egg to marinades, but in this instance, because the marinade is slightly thinner than I’d usually make (due to the pickle juice and hot sauce) it’s always handy to include it. Plus, we’re going to glaze the chicken later on, so we want to give the batter every chance of sticking to the meat so it doesn’t fall off.
- Salt – To season the meat.
How long to marinate for?
I usually go for 4 hours. I recommend a minimum of 2 hours though.
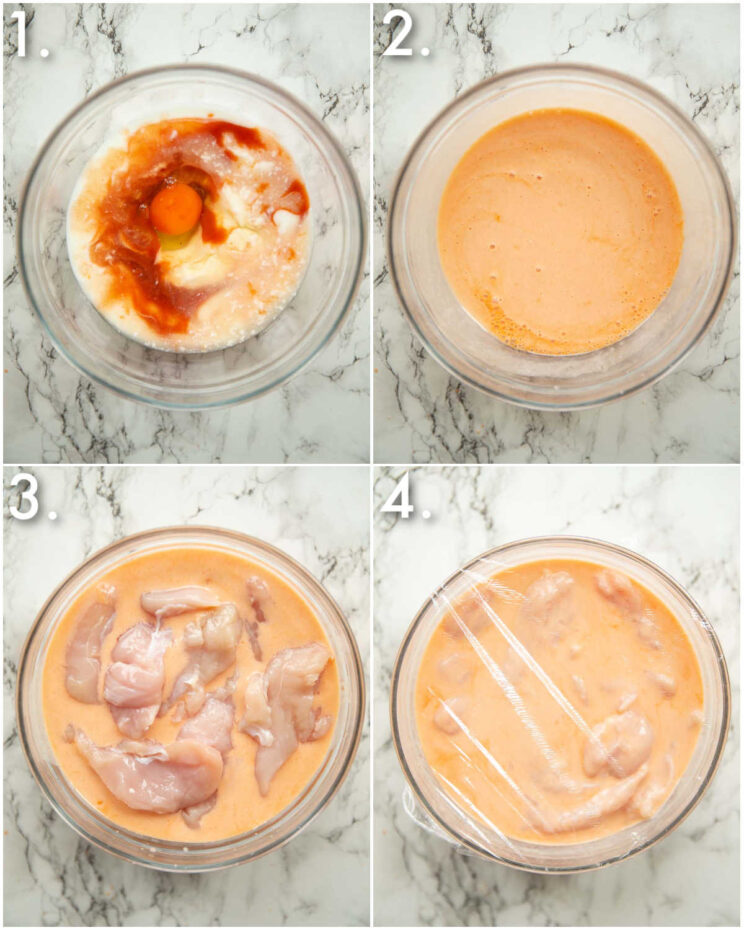
Process shots: add marinade ingredients to a mixing bowl (photo 1), whisk until smooth (photo 2), add tenders (photo 3), mix then marinate (photo 4).
Fried Chicken Batter
Okay, chicken marinated, let’s get breading.
This is a crucial stage for both the flavour and texture of the chicken:
- Flavour – We’re going to season the flour and season it well. The marinade will offer a base flavour, but a large amount of the flavour comes from the batter. To season, I like to use paprika, cayenne pepper, garlic powder, onion powder, salt & black pepper.
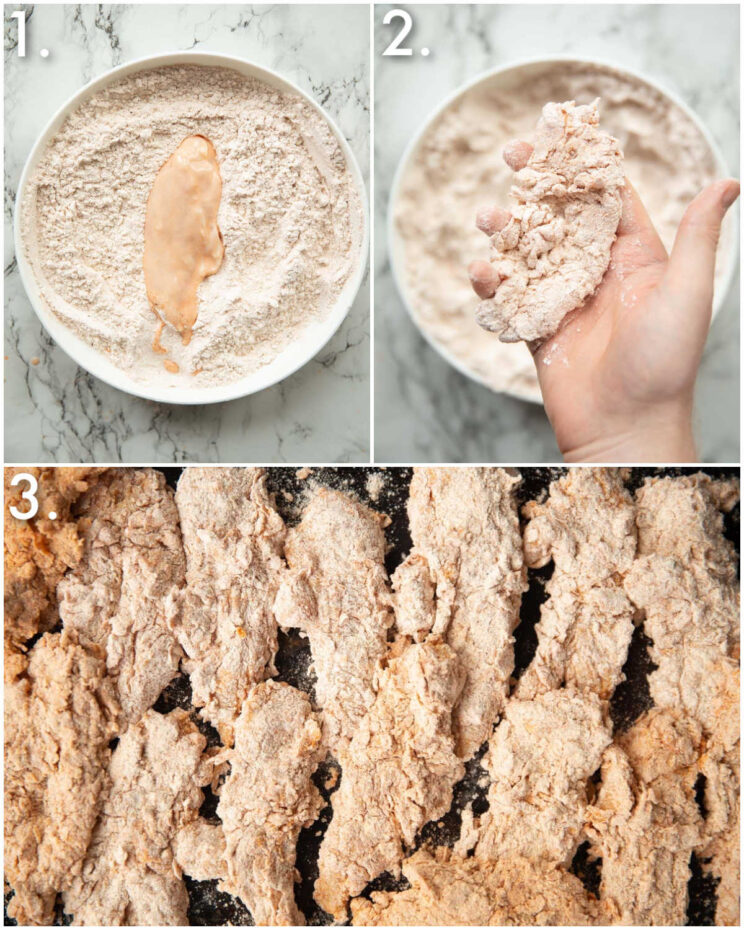
- Texture – You’ll want to really work the flour into the chicken to create lots of tiny flaky bits. This is what will give the chicken a nice crunchy exterior. What you DON’T want to do is quickly dab the chicken in the flour and be done with it. Fill every crack and crevice, give it a shake then repeat.
Process shots: mix seasoning and flour then add chicken (photo 1), coat chicken (photo 2), repeat one by one (photo 3).
Nashville Deep Fried Chicken
In my experience, I’m still yet to produce crispy, juicy ‘fried’ chicken in the oven or air fryer. As such, we’re keeping this classic and frying it in good old trusty oil.
Chicken tenders are perfect for beginners for a couple of reasons:
- Oil – You don’t need as much oil as if you were frying larger cuts of chicken. Just enough to cover the depth of the tender.
- Speed – They fry pretty quickly through the centre, so you don’t have to worry too much about raw meat.
What kind of Oil to use?
You want something with a high smoking point like vegetable, canola, sunflower or peanut oil.
When it comes to frying the chicken I recommend using a kitchen thermometer. You can do it without, but you can get thermometers super cheap and you can fry with much more accuracy.
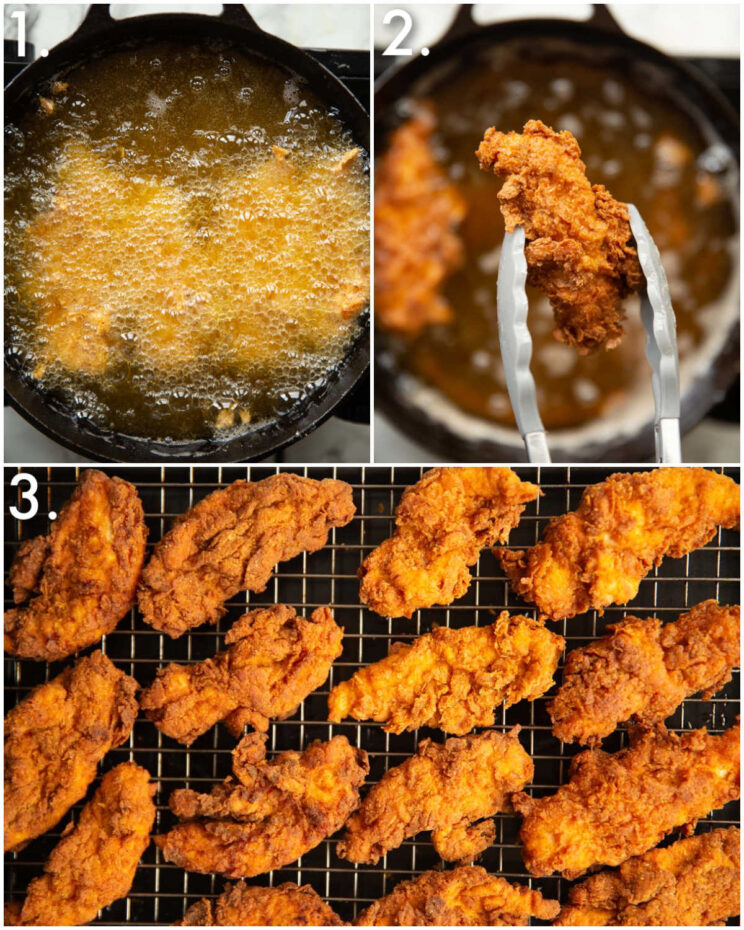
Process shots: add chicken to hot oil (photo 1), fry until deep golden/white through the centre (photo 2), add to wire rack and repeat in batches (photo 3).
Fried Chicken Glaze
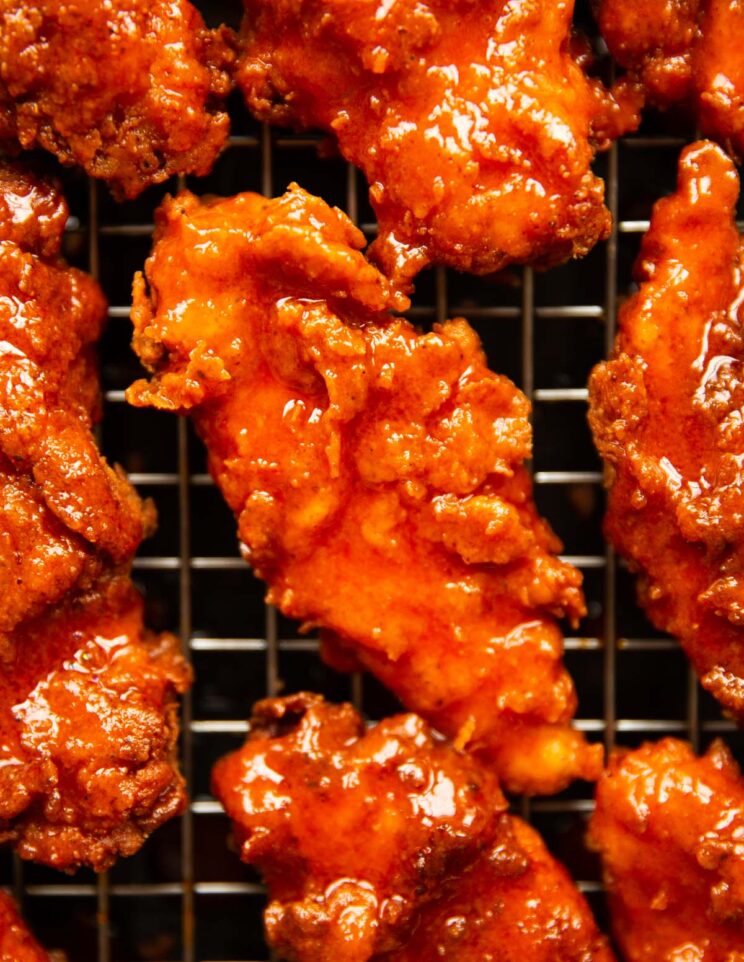
This is probably the most iconic part of Nashville chicken. Once you’ve fried the chicken, you’ll want to scoop out some of the leftover oil to create a glaze.
Fried Chicken Glaze Ingredients
- Leftover Cooking Oil – This will now be flavoured with all that fried chicken goodness. Just let it cool slightly before you scoop it out.
- Hot Sauce – Use your favourite brand. I like equal parts oil and hot sauce.
- Honey – One thing I noticed in Nashville is that fried chicken was often served with honey. Here I add honey to the glaze, just to balance out the spice a little.
- Smoked Paprika – Deepens the flavours and colour of the glaze.
- Garlic Powder – Adds a final pop of flavour.
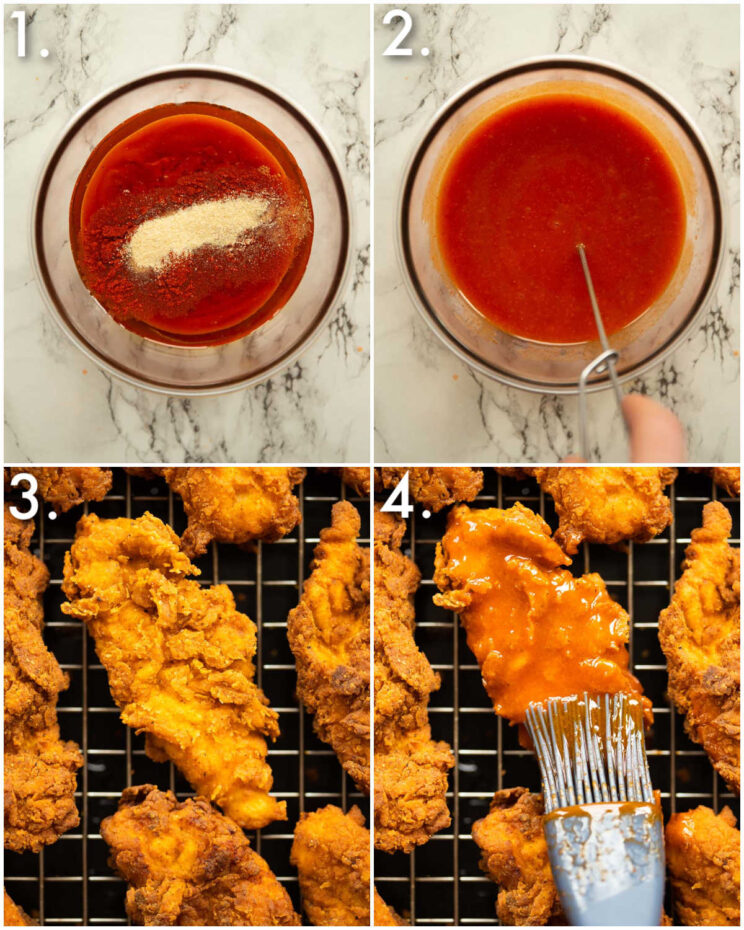
Process shots: add glaze ingredients to a bow (photo 1), whisk until smooth (photo 2), brush over chicken (photo 3).
Nashville Chicken FAQ
What kind of hot sauce should I use?
Use your favourite brand and preferred spice level! I like Cholula because it’s not crazy spicy and I find it slightly less vinegary than Frank’s.
How spicy are these tenders?
Hard to say as it’s so individual. The fried chicken itself has a fairly subtle kick of spice, maybe a 4 or 5 out of 10. Once glazed, and if you use the quantities provided, I’d say it creeps up to a 7.5. Not overbearing, just nice enough to enjoy (it’ll obviously be hotter if you use a spicier hot sauce than Cholula!)
Can I use Cayenne Pepper instead of Hot Sauce for the glaze?
Traditionally you would use cayenne pepper, I just much prefer hot sauce. You can sub cayenne if you’d prefer, just increase the amount of cooking oil to make up for the lost liquid. I recommend starting at 1 tbsp cayenne pepper and working up (some recipes go as high as 6 tbsp!)
Serving Nashville Fried Chicken
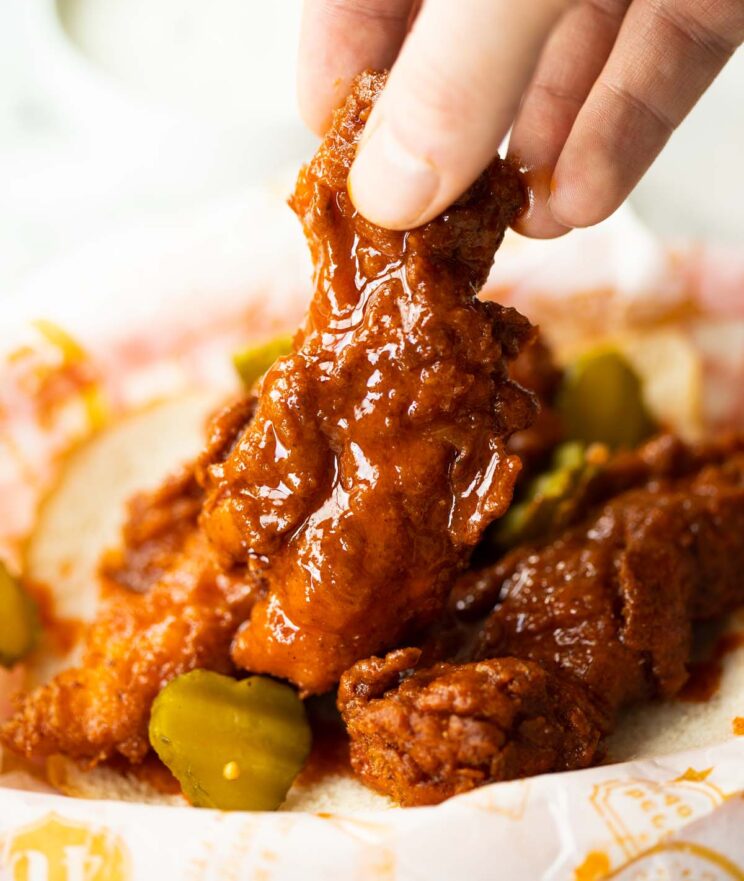
Another thing I wasn’t used to seeing was how the fried chicken was served; which was on a thick slice of bread with pickles, usually with honey and hot sauce on the side too. All the side dishes were usually served in individual portions to one side. Here are some recommendations for you:
Fried Chicken Sides
Alrighty, let’s tuck into the full recipe for these hot chicken tenders shall we?!
How to make Nashville Hot Chicken Tenders (Full Recipe & Video)
Nashville Chicken Tenders
Equipment
- Suitably Sized Pot or Cast Iron Skillet & Tongs (for deep frying)
- Medium Sized Bowl, Cling Film & Whisk (for marinating)
- Large Shallow Dish or Curved Baking Tray (for dredging chicken)
- Wire Rack & Baking Tray (for resting fried chicken)
- Small Bowl & Brush (for glaze)
- Kitchen Thermometer
Ingredients
Chicken
- 1.3lb / 600g Chicken Tenders (see notes)
- 3-4 cups / 750ml - 1litre Vegetable, Peanut or Sunflower Oil
Marinade
- 1 cup / 240ml Buttermilk
- 1/4 cup / 60ml Pickle Juice (Gherkin juice in UK)
- 1/4 cup / 60ml Hot Sauce
- 1 Egg
- 1 tsp Salt
Dry Mix
- 1 3/4 cups / 250g Plain/All Purpose Flour
- 2 tsp EACH: Paprika, Cayenne Pepper
- 1 tsp EACH: Garlic Powder, Onion Powder, Baking Powder, Salt
- 1/2 tsp Black Pepper
Glaze (see notes)
- 1/2 cup / 120ml leftover Oil, from deep frying
- 1/2 cup / 120ml Hot Sauce (see notes)
- 2 tbsp Honey, or to sweetness preference
- 1.5 tsp Smoked Paprika
- 1/2 tsp Garlic Powder
- Salt, to taste
Instructions
- In a medium sized mixing bowl whisk together buttermilk, pickle juice, hot sauce, egg and salt. Add in the chicken tenders then tightly cover and marinate in the fridge. 4+ hours best, 2 hours minimum. Get out the fridge 30mins before needed.
- In a large shallow dish or curved baking tray combine dry mix. One by one take a chicken tender straight out of the bowl and place it in the dry mix. Use your hands to thoroughly coat the chicken. Really press the flour into every crack and crevice to create lots of tiny flaky bits. Give it a shake, then place to one side and repeat.
- Heat up the oil in a suitable-sized pot or cast iron skillet to 350F/175C. Working in 3-4 batches, carefully place the tenders into the hot oil and leave for a few mins. The temp will drop slightly to around 320F/160C, just try and maintain it as best you can. Flip the tenders and continue frying for another few mins until deep golden and visibly crispy. Remove and place on a wire rack with a tray underneath to catch excess oil. Timings will depend on the size of tenders so just be vigilant. The chicken should be white and piping hot through the centre.
- Once all the tenders have fried, allow the oil to cool slightly then scoop out 1/2cup and pour into a small bowl. Add in hot sauce, honey, smoked paprika, garlic powder & salt (if needed) and whisk into a glaze.
- Brush the tenders all over with the glaze then serve up and enjoy!
Video
Notes
Your Private Notes:
Nutrition
Looking for more?
You’ll find plenty more delicious comfort food like this in my Debut Cookbook ‘Comfy’
If you’re looking for more similar recipes then check out these beauties:
Fried Chicken Recipes
- Buttermilk Fried Chicken
- Popcorn Chicken
- Fried Chicken Cutlets
- Spicy Chicken Tenders
- Crispy Chicken Burger


Come across this recipe a few days back, while looking for ‘fakeaway’ ideas. These were honestly top tier – the best chicken tenders i’ve ever had! What should of been a serving for 4, actually turned into 2 servings because they were just so good!! 10/10
So pleased they went down well, Haley! Thanks so much for the review 🙂 C.
This recipe is absolutely AMAZING. HONESTLY, I am *heavy breathing* while eating this right as we speak. I used the cast iron skillet, vegetable oil, and half the salt in the glaze at the end. I also used Sweet Baby Rays Hot Sauce.
Incredible. Thank you!
So awesome to hear these went down well, Stefanie! Thanks so much for the review 🙂 C.
Wow, wow and wow!!!
The very best fried chicken We have ever tasted. No more KFC for use. Wonderful recipe thank you
So great to hear! Thanks for the review 🙂 C.