Here I’ll show you the easiest and most delicious way to make classic sage and onion stuffing!
I don’t know about you, but for most of my life, my experience of stuffing has always been the classic packet sage and onion stuffing mix that you add boiling water to. Don’t get me wrong, I grew up on the stuff, but it’s so simple to make your own at home and it really is 10x more delicious! Follow me…

Bread Stuffing
Unlike many stuffing recipes, traditional sage and onion stuffing has no sausage in it. In fact, there’s no meat in it at all. It’s purely bread-based.
What kind of bread should I use?
Trusty white sandwich bread does the trick. No need for fancy bread, it’s often too tough for a stuffing recipe. Also, bonus points if the bread is a little stale. This will give the stuffing a little more structure and prevent it from being too mushy.
Process shots: add bread to food processor (photo 1), blitz into a crumb (photo 2).

Sage and Onion Stuffing
Of course, alongside the bread we’ve got a few other goodies going in too:
- Butter – this is the backbone of stuffing. It helps bind the bread and also gives the stuffing a rich flavour. It’s also used to fry the other ingredients.
- Onion & Celery – you’ll want to gently sweat these down in the butter until soft and sweet. Don’t rush this process.
- Sage & Thyme – we’ll mainly be using sage, but some added thyme works really nicely. Both must be fresh!
- Garlic – for an added boost of flavour.
- Vegetable Stock – this is my secret weapon. Just a small amount helps bind the breadcrumbs and keep them moist. Without it, I find the stuffing to be too dry and crumbly.
What texture should the stuffing be?
The classic packet stuffing always ends up quite moist and compact. This version is a little more light and fluffy, but it still has the classic crispy topping with the slightly more doughy/softer centre.
Process shots: melt butter (photo 1), fry celery and onion (photo 2), fry sage, thyme and garlic (photo 3), stir in stock then add breadcrumbs (photo 4), stir to coat (photo 5), add to baking to dish, spray with oil and bake (photo 6).


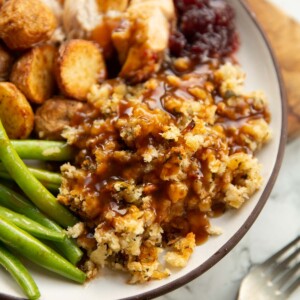
Serving Sage and Onion Stuffing
This is obviously perfect as part of a Roast Dinner slathered in regular Gravy or Red Wine Onion Gravy. It also makes the perfect Side Dish for so many other Mains.
For another stuffing recipe check out my Sausage Stuffing Balls!
Alrighty, let’s tuck into the full recipe for this sage and onion stuffing shall we?!

How to make Sage and Onion Stuffing (Full Recipe & Video)
Classic Sage and Onion Stuffing
Equipment
- Food Processor (for breadcrumbs)
- Sharp Knife & Chopping Board
- Large Pan & Wooden Spoon
- 25cm x 17cm / 10" x 7" Baking Dish (or similar size)
Ingredients
- 250g / 9oz White Sandwich Bread, preferably 1-2 days old (see notes)
- 5 tbsp / 75g Butter, diced into cubes
- 2 large White Onions, finely diced (approx 200g/7oz each)
- 1 large rib of Celery, finely diced
- 2 large cloves of Garlic, finely diced
- 2 tbsp Fresh Sage, finely diced
- 1 tsp Fresh Thyme, finely diced
- 1/4 tsp EACH: Salt, Black Pepper
- 80ml / 1/3 cup Vegetable Stock
- Oil Spray, as needed
Instructions
- Preheat the oven to 180C/350F.
- Place the bread in a food processor and blitz into a coarse breadcrumb. You may need to do this in batches.
- Melt the butter in a large pan over medium heat. Add the onion and celery and gently sweat it all down until soft and just starting to turn light golden. Don't rush this process, it can take around 15 minutes to properly soften and sweeten the onions. Add in the garlic, sage and thyme and continue frying for another 1-2 minutes.
- Stir in the vegetable stock then stir in the breadcrumbs, salt and pepper until fully coated in the butter/stock. Spray the baking dish with oil, then pour in the breadcrumbs and use your wooden spoon to gently press down and level off the top.
- Liberally spray the top with oil then bake in the oven for 30-35 minutes or until crisp and deep golden on top. Rest for a few minutes before serving.
Video
Notes
Your Private Notes:
Nutrition
Looking for more?
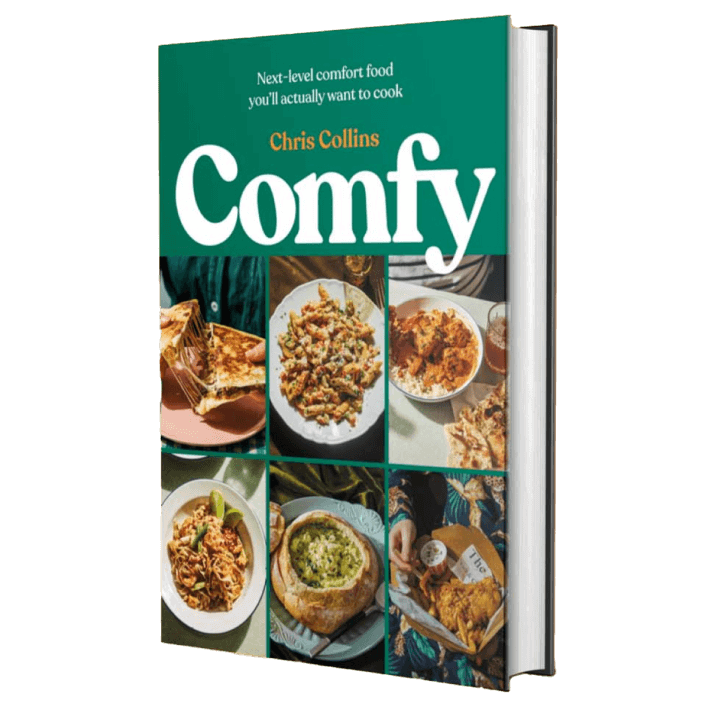
You’ll find plenty more delicious comfort food like this in my Debut Cookbook ‘Comfy’


Great recipe !
I’ve made my own before and just blended everything and then cook it !
Your way is best as the onions are nicer cooked before hand !
The stick makes the difference lovely taste thanks
Awesome to hear, Phil. Thanks so much for the review! C.
Found it not to my taste, it was bland
Sorry it wasn’t to your personal taste, Mel! Hopefully you have better success with a different stuffing recipe 🙂 C.
Fantastic with Christmas dinner.
Thanks so much for the review 🙂 C.
Never made stuffing before so gave it a go. Took a while as I only have a mini food processor but the end result once baked was absolutely delicious!
Ah that’s awesome to hear, Katy! Thanks for the review 🙂 C.
great tasty recipe, thanks we loved it
Thanks so much for the review, Val! C.