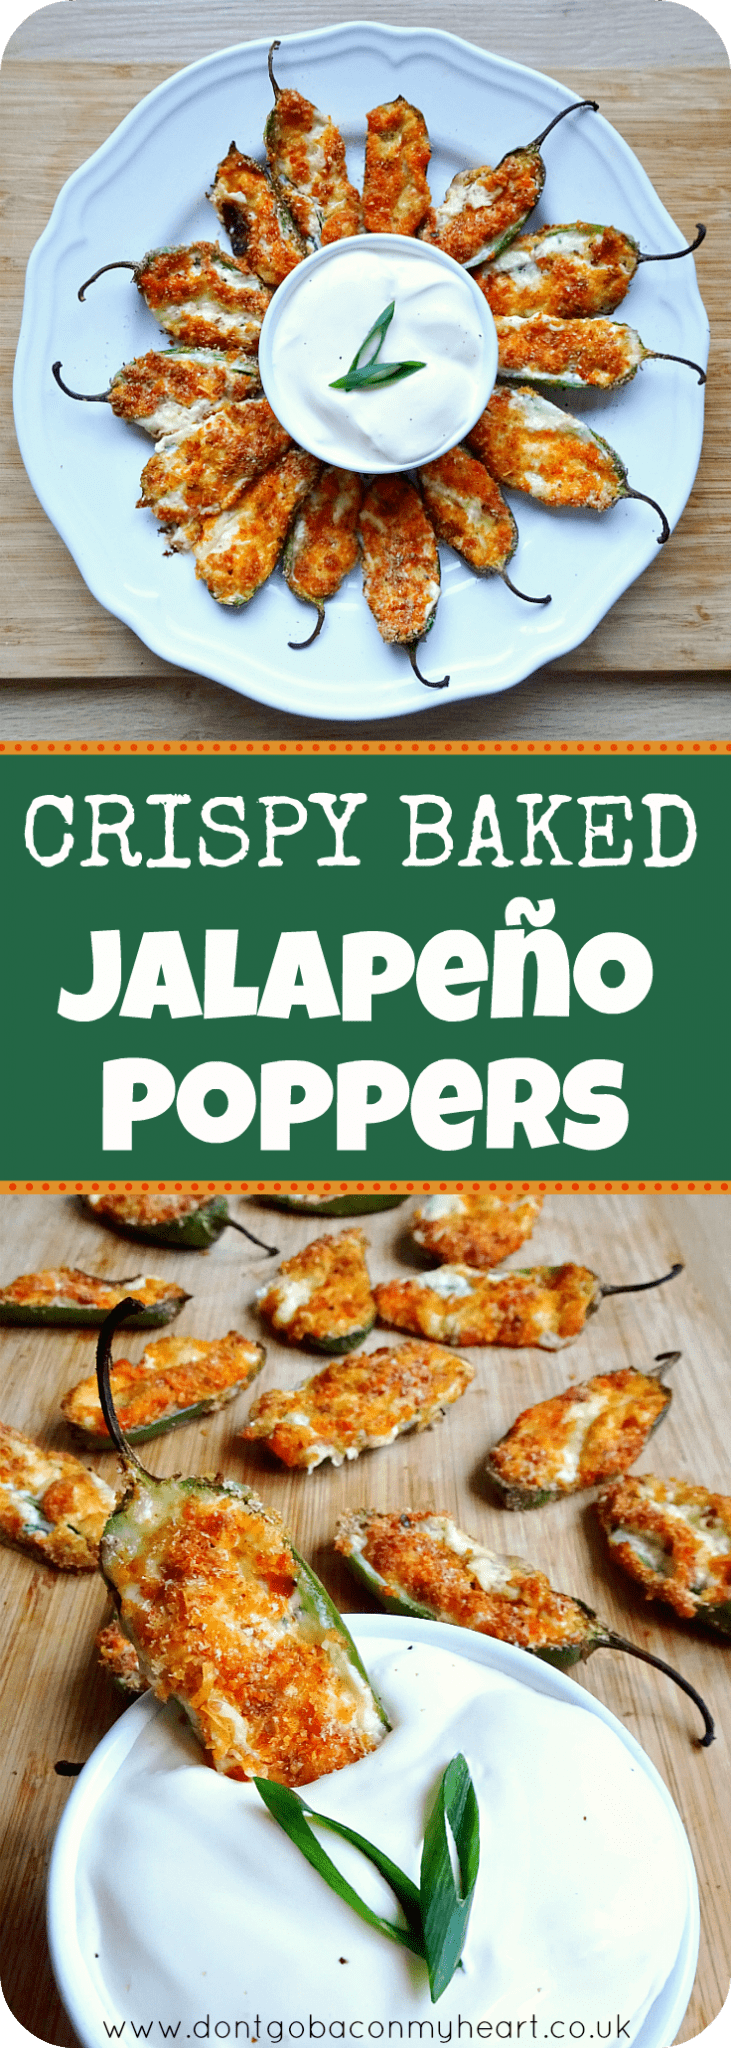
Juicy jalapeño on bottom, with a loaded centre and a parmesan crunch on top, once you try this way of baking jalapeño poppers you’ll never look back. These Crispy Baked Jalapeño Poppers are an absolute must. Plus, they’re PERFECT for game day!
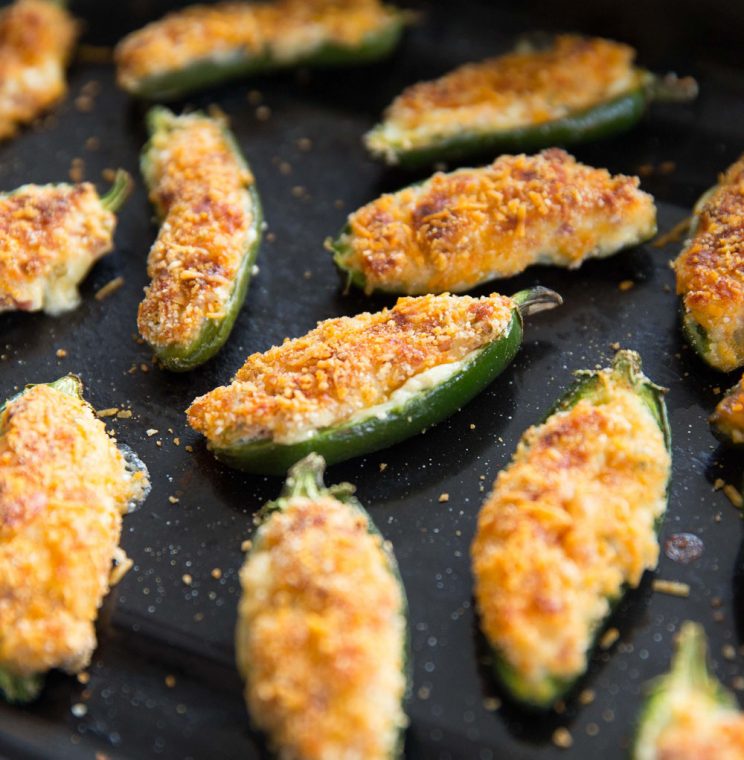
Baked Jalapeño Poppers
Sure, deep fried jalapeño poppers are tasty, but think about it. What do we love so much about them? For me, it’s because they’re crispy, yet cheesy and gooey. What if I told you that you can get those exact things but with half the hassle and probably half the calories? WITH the addition of bacon!? Follow me…
Classic Baked Jalapeño Poppers
For a long time when making jalapeño poppers I’d do the whole cream cheese stuffed jalapeños, topped with cheddar cheese then wrap with bacon. Which don’t get me wrong tastes bloomin’ divine, but recently I’ve mixed things up, which has led to one of the most incredible jalapeño popper combos I’ve ever tasted.
MY Baked Jalapeño Poppers
What I’ve come up with here is essentially jalapeño ‘boats’ which are loaded with a cream cheese filling and baked with a crispy top. Here’s what you’ll need for the cream cheese filling:
Jalapeño Popper Filling
- Cream Cheese
- Cheddar Cheese
- Green/Spring Onion
- Bacon
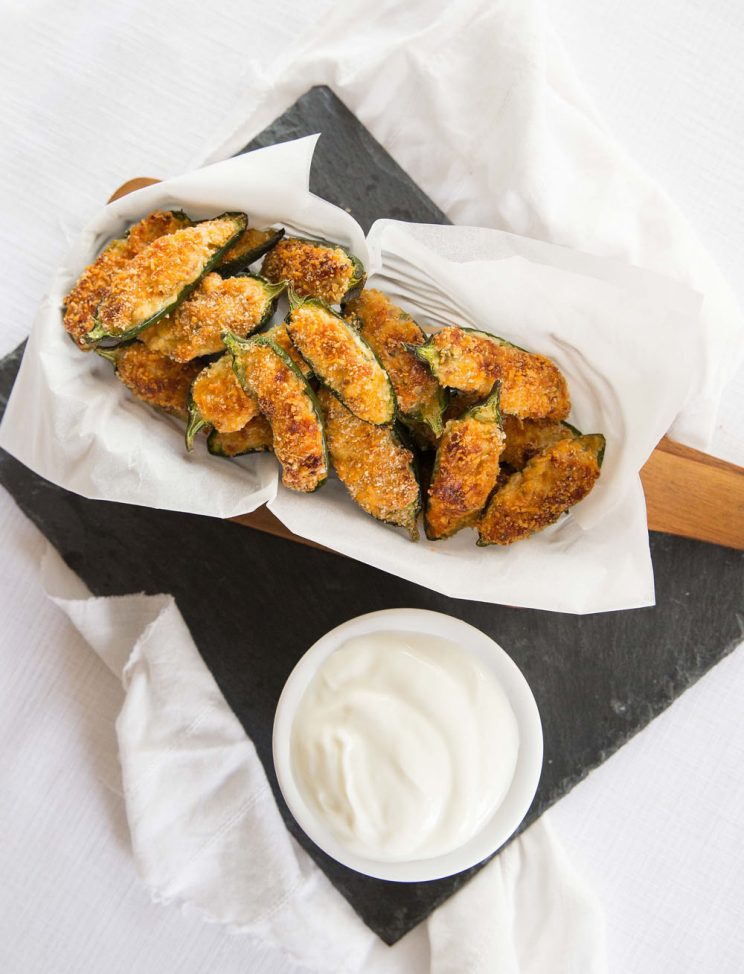
PreparingJalapeño Poppers
First thing you want to do is grab yourself some nice juicy fresh jalapeños. Those chillies lurking about in the back of your fridge are no good, they simply won’t hold up in the oven. And nobody likes it when jalapeños spill out in the oven 😩 From there all you’ll need is a chopping board, a sharp knife and some gloves if you fancy. Using disposable gloves are always a good idea if you’re concerned about spreading spice.
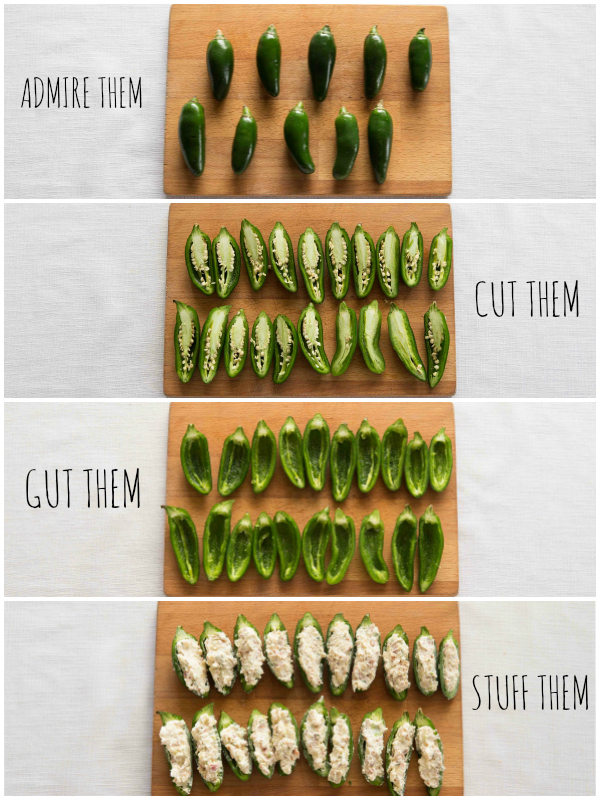
How to stuff Jalapeños (quick summary)
- Admire them – Grab yourself the biggest and freshest jalapeños you can find and spread them on a chopping board.
- Cut them – Evenly slice them vertically down the centre.
- Gut them – Scrape out every last seed you can find, easiest done with a tsp. Be careful not scrape too vigorously, else one of those seeds is gonna pop into your eye! (trust me, been there).
- Stuff them – About 1 tbsp of filling should do the trick. You want the filling to be just raised above the edges of the jalapeño.
CRISPY Baked Jalapeño Poppers
Now comes the fun part that takes these baked jalapeño poppers through the roof. We’ve got the ‘boats’ filled, now time to add the crispy, crunchiness that everybody loves. Here’s what you’ll need:
Baked Jalapeño Crispy Layer
- Breadcrumbs
- Parmesan
- Smoked Paprika
Now, if you’ve been a reader for a while you’ve heard me harp on about smoked paprika in literally every recipe. A personal preference of mine? Maybe. But here it’s a definite must. It’s give that gorgeous smokey twang to these baked jalapeño poppers and enhances all the lively flavours they offer.
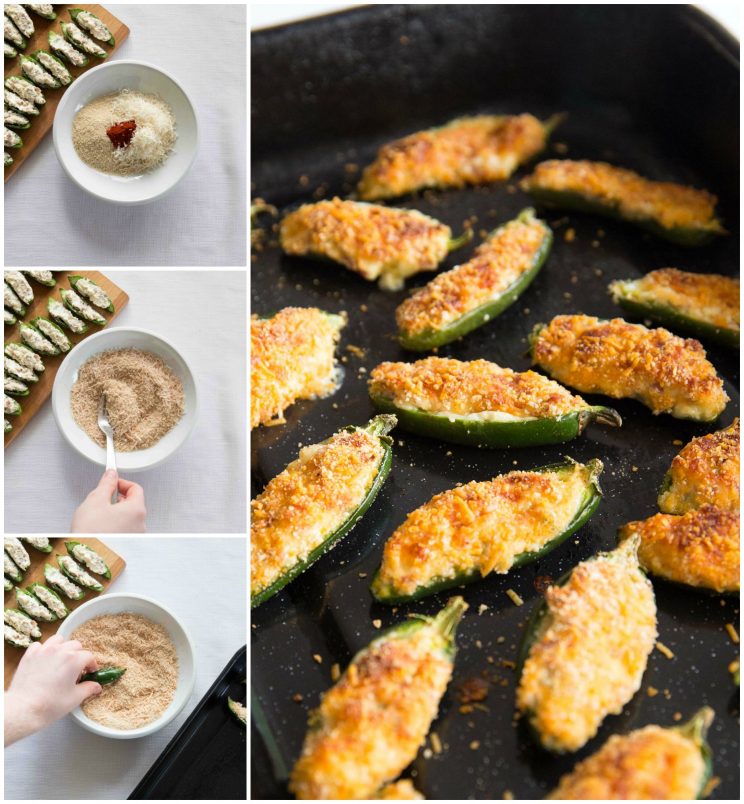
How to Bake Jalapeño Poppers (quick summary)
- In a bowl, add smoked paprika, breadcrumbs and parmesan.
- Combine with a pinch of salt and pepper.
- Place your jalapeños cheese side down onto the mixture and press down so it picks up as much as possible.
- Bake in the oven until they just begin to bubble, then switch on the grill and broil until crispy.
Tips for the best Baked Jalapeño Poppers
1. Don’t over bake
You want to initially bake them until they’re just cooked through, usually until they start bubbling. It’s such a sad sight to see a sloppy jalapeño popper. An ever so slightly firm jalapeño is actually a good thing as it keeps it’s shape nicely.
2.Uniformed Size
Try and pick similar sized jalapeños so they all cook at an even rate. With the same token, try and slice symmetrically so both sides are the same depth, just for the same reason.
3. Jalapeño Poppers Dip
These are great by themselves but even better with a dip. For me I usually go with a simple sour cream to sooth out the kick of spice. However these go amazingly too:
Dips for Jalapeño Poppers
How spicy are these Jalapeño Poppers?
In general, contrary to popular belief jalapeño poppers aren’t that spicy. On the Scoville scale, the jalapeño is merely mild to moderate. Having said that, some are spicier than others. If you’re at all concerned about them being too spicy, I recommend soaking the jalapeño boats in cold water. This will take away some of the kick. Just thoroughly dry with paper towels before stuffing.
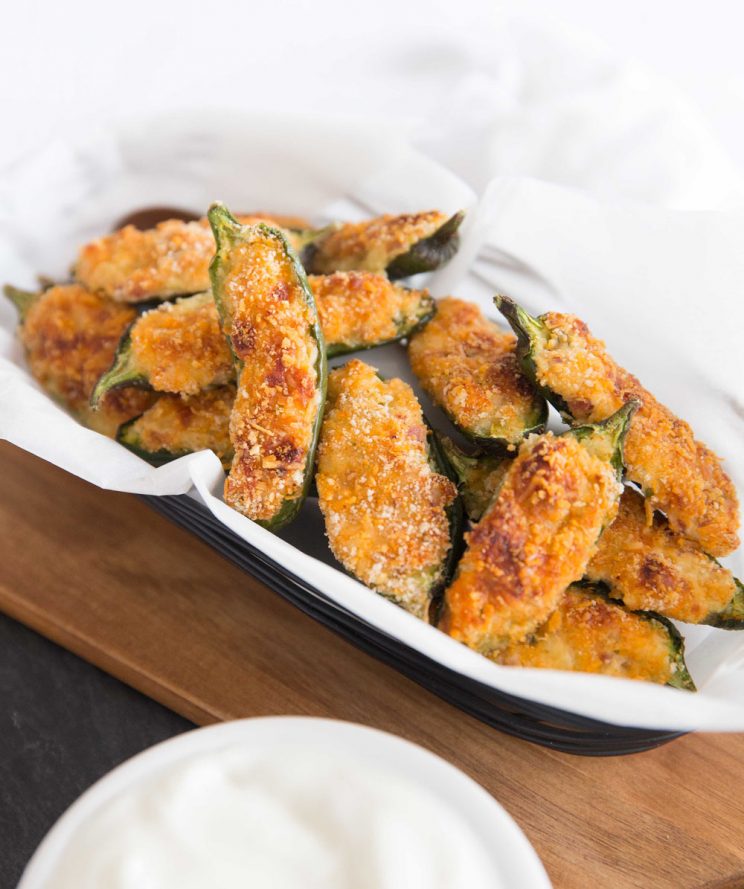
And there we have it! My jalapeño popper brain has officially leaked, and the info is yours for the taking 🤣 If you’re looking for game day finger foods then definitely check out my other recipes:
Baked Finger Food
- Crispy Baked Avocado Fries
- Crispy Baked Chicken Tenders
- Crispy Baked Potato Wedges
- Mini Loaded Potatoes
- Chorizo Sausages Rolls (or classic sausage rolls)
Fried Finger Food
- Beer Battered Onion Rings
- Spicy Fried Chicken Tenders
- EXTRA Crispy Halloumi Fries
- Fried Cheese Balls
- Popcorn Chicken
Alrighty, let’s tuck into these baked jalapeño poppers shall we?!
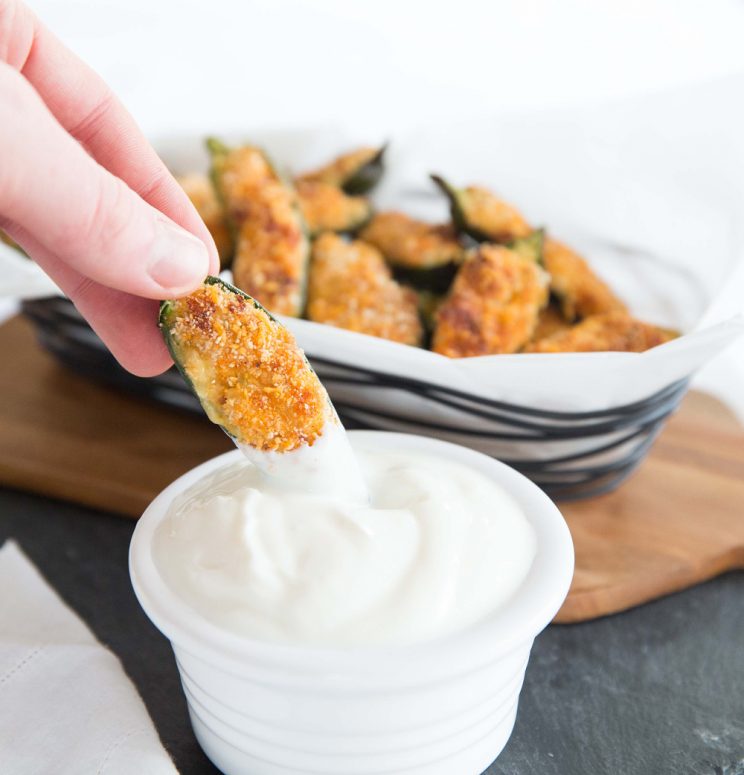
How to make Baked Jalapeño Poppers (Full Recipe & Video)
Crispy Baked Jalapeño Poppers
Equipment
- Sharp Knife & Chopping Board
- Gloves (optional - for slicing jalapeños)
- Baking Tray
- Medium Bowl (for cream cheese mix)
- Medium Bowl (for breadcrumbs mix)
Ingredients
- 10 Jalapeños
- 9oz / 250g Cream Cheese
- 5oz / 150g Streaky Bacon, finely diced (or bacon of choice)
- 1 cup / 100g Cheddar Cheese, finely grated
- 1 Green/Spring Onion, finely diced
- 4 tbsp Dry Breadcrumbs (can use Panko!)
- 2 tbsp Parmesan, finely grated
- 1 tsp Smoked Paprika
- Salt & Black Pepper, to taste
- Olive Oil, as needed
- Sour Cream, to serve
Instructions
- In a medium sized bowl, combine 4 tbsp breadcrumbs, 2 tbsp parmesan, 1 tsp smoked paprika and a pinch of salt & pepper (to taste). Place to one side.
- Next, fry 5oz/150g diced bacon in a pan over medium heat (use oil as needed) until nice and crispy. When cool enough to handle, combine in a separate bowl with 9oz/250g cream cheese, diced green/spring onion and 1cup/100g grated cheddar cheese. Place to one side.
- Grab your jalapeños and slice them vertically, forming two boat-like shapes. Deseed with a teaspoon and begin filling with your cream cheese mixture. You want them filled to just above level height, around 1 tbsp per 'boat' should be fine, depending on jalapeño size. Use gloves if concerned about spreading spice.
- Flip each boat upside down in to your breadcrumb mixture and gently press so the crumbs attach, forming the crispy layer.
- Evenly space out on a baking tray and bake for around 8-10 mins at 200C/390F just to heat through the centre, just until they start to bubble. Then switch to the grill and broil for around 5 mins or until golden and crispy on top (see notes). Allow to cool for a few minutes and tuck in!
Video
Notes
Your Private Notes:
Nutrition
Looking for more?
You’ll find plenty more delicious comfort food like this in my Debut Cookbook ‘Comfy’
If you loved these Baked Jalapeño Poppers be sure to pin the recipe for later! Already made them or have a question? Give me a shout in the comments and pick up your free ecookbook on the way!


Have my third batch in the oven now… they are simply amazing! I didn’t have green onion this last time so used finely minced yellow onion, still awesome! What a refreshing change from heavily breaded and deep fried poppers. I just may adapt this method of baking with a filling then using the same crisped topping for my Chile rellenos.
When I have a surplus of home grown jalapeños I just halve and seed them and pop them in the freezer, ready for whatever comes over the winter. The first batch of these I tried was with my frozen and thawed jalapeños and they turned out great! Thanks so much for creating this recipe, Chris!
This is so lovely to read, Sandi! Glad you love the recipe. Thanks for leaving a review! C.
Just made this for the first time for the family. It was so good and fresh. Everyone in the family loved it which isn’t always the case with a family of 5. Pretty easy to make . Will definitely keep this dish on the permanent weekly menu.
So glad to hear they went down well, Paula! 🙂
Can these be frozen?
Yep! Just adjust the cooking time accordingly if you’re freezing before cooking. If you’re freezing after baking just pop them back in the oven until bubbling through the centre.
Olive oil is listed in the ingredients, but I don’t see where it was used.
Hi Barbara! It’s just to fry the bacon 🙂
This recipe is so versatile. I’ve tried it as written and it’s awesome! So now, I have the confidence to experiment a bit. I definitely wanna repeat this with some french’s fried onions mixed into my topping. Also, the gloves were definitely a hot tip, lol. I’ve cut and gutted jalapenos by hand before w/o gloves and maaaaan does that capsaicin burn ><
That’s awesome to hear, Ariella! Fried onions on top sounds truly delicious, you’ll have to let me know how you get on 🙂
I’ve searched everywhere and I can’t seem to find what temp. I’m to cook these at. I’m trying 425. I hope that’s not too hot.
Hi Carol! Apologies, not sure why that wasn’t showing up in the recipe card, but it’s 200c/390f. You’ll struggle to burn them at 425f though as they’re not in the oven long, so don’t worry. Enjoy! 🙂
Made them last night for a party, they were a big hit! I regret not wearing gloves during prep though, the spice made my hands burn for a couple hours!
Oh no, poor hands! They’re firey buggers aren’t they!? Glad they were enjoyed though 🙂
Just made these for an after school snack for my teenage girls and for my 80 year old dad; they were fabulous! The only thing is the peppers were still a little crunchy, but maybe because they were prepared and then refrigerated? I may just blanch them prior and see if that helps.
Hi Renee! So glad you enjoyed them! If you like them a little softer, just leave them in the oven a little longer before you grill them. Blanching will remove a lot of the spice 🙂
Bacon jalapeño poppers: my son loves these, already printed the recipe. Love your site and newsletters!
Hey Virginia! Thank you for taking the time to pop over and leave a comment! So glad you love the site & I hope you enjoy the recipe just as much as I do!! 🙂
I have some left over Italian bread crumbs, would that taste good or should I just buy regular bread crumbs?
Hey Meranda! Never tried them with Italian breadcrumbs, but can’t imagine it being a problem. My advice would be to make the filling and test with one, if if you’re a fan go ahead and make with the rest with the breadcrumbs you have, if not your filling is already and waiting for when you come back with regular breadcrumbs. Hope this helps!