How to get delicious and most importantly CRISPY Oven Baked Sweet Potato Fries. Follow this tried and tested 5 step method and you won’t be disappointed!
There seriously is nothing, and I mean NOTHING better than a batch of hot, sweet and salty, crispy sweet potato fries. There are so many great things the sweet potato brings us in life, but nothing greater than the classic fry. Having said that though, there really is nothing more disappointing in life than a batch of soggy sweet potato fries. Ugh, doesn’t the thought of it just make your heart sink? But unfortunately, it’s a far too common scenario, especially when making homemade sweet potato fries and more specifically, when baking them in the oven. It’s not easy! Getting crispy sweet potatoes using the oven is an art. But there is hope.
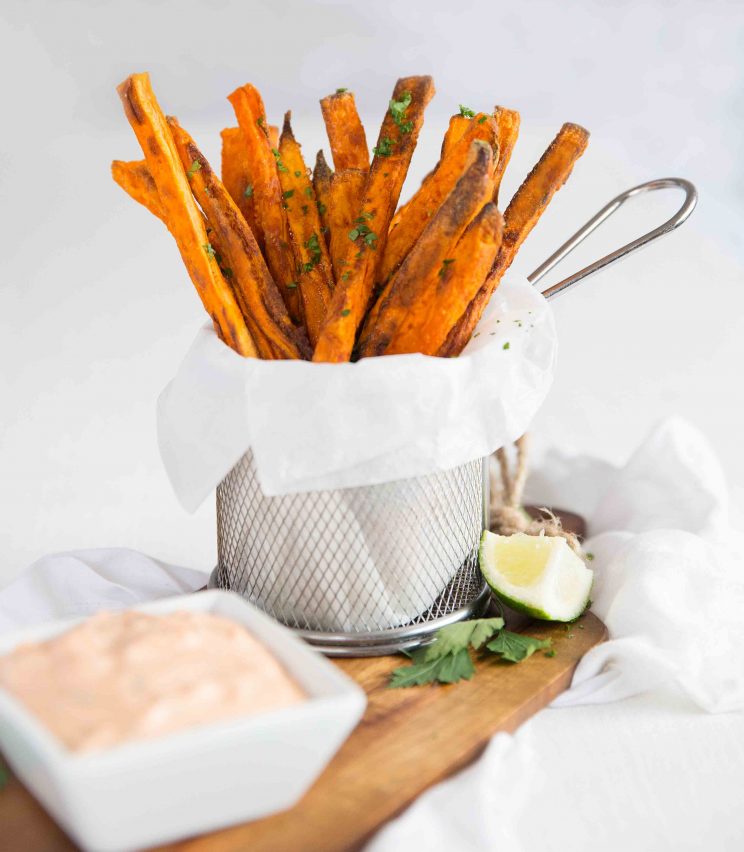
I have searched far and wide, and tested too many batches I care to even think about, in order to crack the code of getting crispy oven baked sweet potato fries every single time. Thankfully, I am here today to tell you that I’ve cracked it.
Look, I’m probably making it out to be a lot more difficult than it actually is, because once you try this method you’ll realise it’s a piece of cake. Could you just deep fry the bloomin’ things? Yes. But where’s the fun in that? Plus my waistline can’t deal with much more deep frying. So oven baked it is.
Are you ready for the crispy baked sweet potato fry challenge?
Crispy Baked Sweet Potato Fries – 5 Easy Steps
1. Size Matters
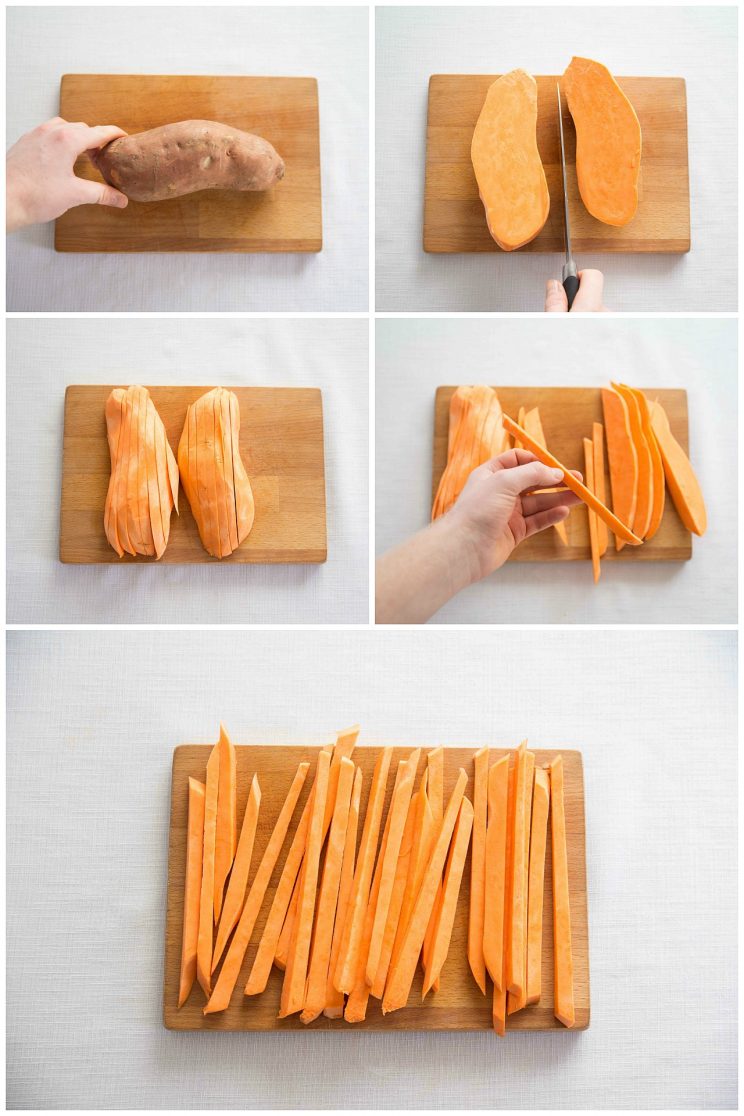
Grab yourself the largest sweet potato you can find, because they’re easier to handle. Peel and slice in half. From there you want to slice into about 1/4″ segments (photo below for guidance). The first mistake people make is making their fries too thick. It’s incredibly difficult to get crispy sweet potato wedges in the oven, it’s better to slice them too thin than too thick.
The second crucial step is to make sure they are all uniformly cut. Whether you’ve sliced them too thick, too thick or end up with pieces that look like shattered glass, at least make sure they’re all the same size so everything cooks at the same rate.
2. Soak and dry
Do sweet potatoes need to be soaked before cooking?
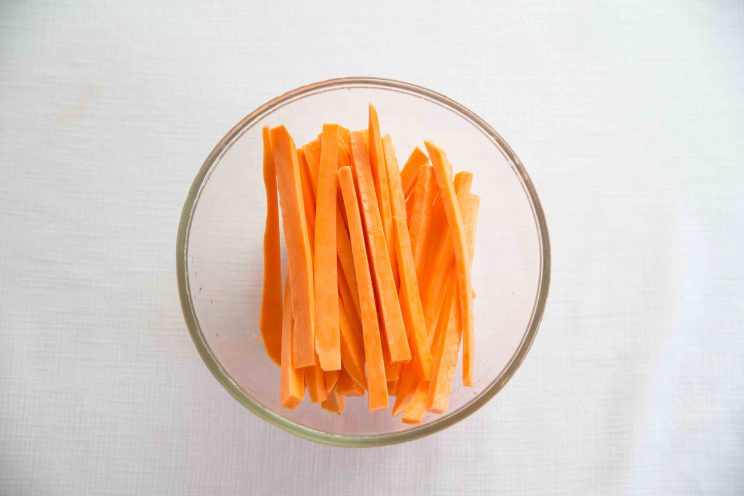
In short – yes. Soak them in a bowl of cold water for at least 30mins. You can actually do this way in advance and pop in the fridge, the longer the better. Soaking your fries in water will pull out starch from the potato, resulting in a soft inside and a crispy outside. You’ll actually see all the starch at the bottom of the bowl after soaking them, which is strangely satisfying.
At the same time it is important that you dry the fries like you’ve never dried a fry before. Seriously, once they’ve had their bath we don’t want a spec of water left on them.
3. The power of Cornflour!
Or cornstarch depending on what part of the world you’re from. Okay, so you’ve pulled the starch from the potato in order to get them soft, but you want the outside to be crispy, so you’ve gotta do some DIY. Cornstarch is perfect for this. A thin coating of cornstarch is key to get that crispy outside that you’re after.
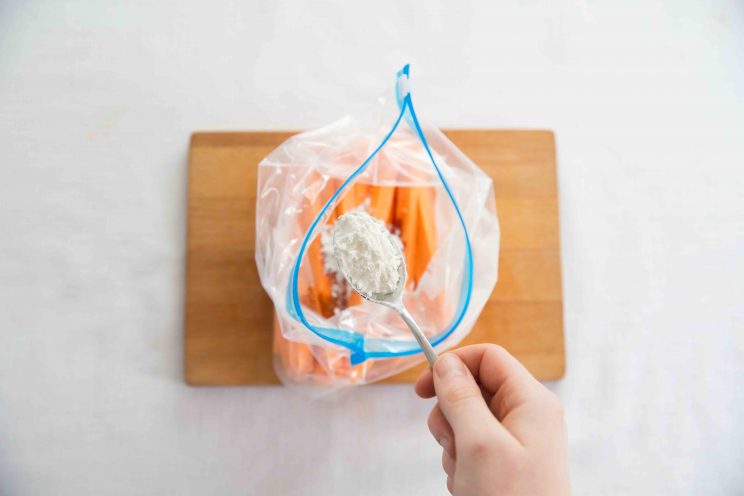
Grab a large ziplock bag, place in your fries and a dusting of cornstarch. I find that 1 tbsp does the trick. Give it a really good shake to ensure a full even coating. You don’t want too much otherwise the fries will taste dusty, so pour out any excess cornstarch left at the bottom of the bag.
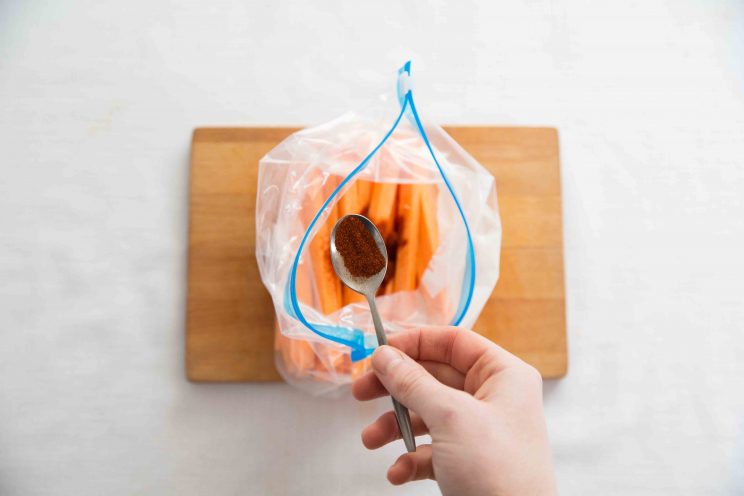
Now it’s time for seasoning, and this really is up to your tastebuds. Spices that work well are chilli/chipotle powder, cumin, paprika, smoked paprika and cayenne pepper. I’ve also done a combo of rosemary and garlic before which came out nice!
HOWEVER, whatever you do, don’t add salt. One more time, do not add salt at this point. I’ve experimented by adding salt before and after the cooking process and adding it before they go in the oven seems to wilt the fries too much. Adding salt at the end drawers out that final bit of moisture without leaving them too wrinkly.
What’s the best oil for baking fries?
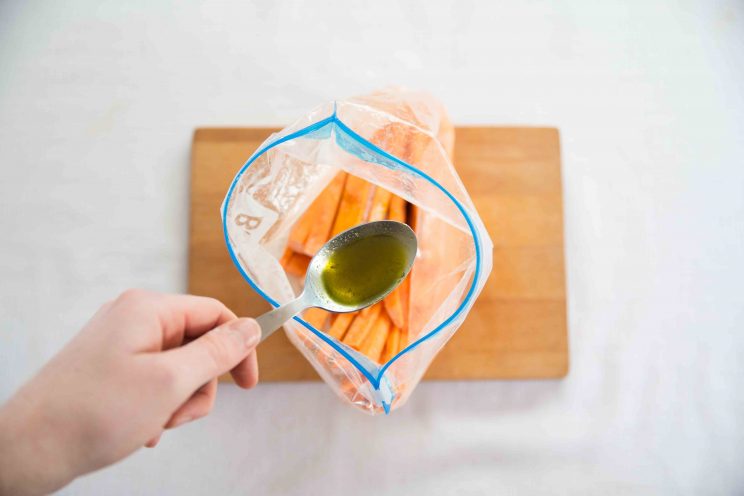
The key with oil is using one with a high smoking point. As tempting as it is to use olive oil you must resist! Some olive oils can have a smoking point as low as 320F/160C which is no good when we are cooking the fries at 430F/220C. Oils such as peanut oil, sunflower oil and avocado oil have much higher smoking points. Here is a great article on smoking points of oils.
4. The baking method – broken down
Why don’t my sweet potato fries get crispy?
A few crucial steps when baking the fries to avoid them turning soggy.
First things first, you want to either spray the tray with a light coating of oil, or use a good quality heavy duty foil or parchment paper so the fries don’t stick.
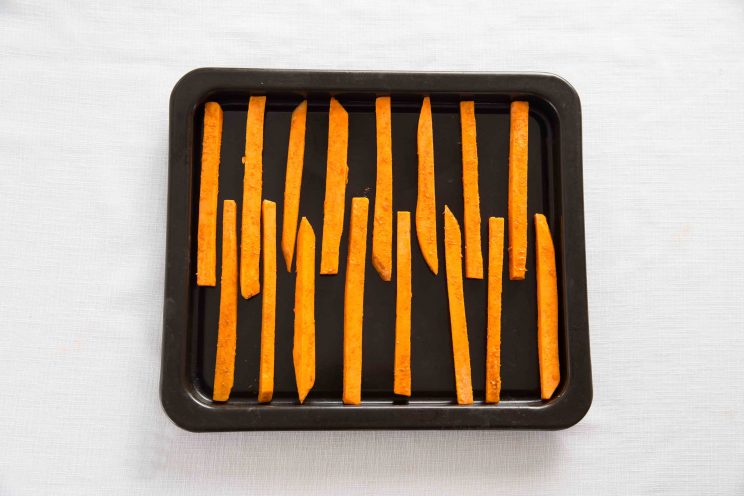
Secondly you want to make sure you don’t overcrowd the fries. As the fries cook they will release steam, if they are crowded together they are going to consequently steam instead of roast. These sweet potato fries are divas, give them space. Use two trays if you need to.
You want to cook them on a high heat, so as I mentioned earlier you’re looking at 430F/220C. Ironically you don’t want to bake these fries, you want to roast the heck out of them. Cooking on a low heat will bake them, leaving them soft and soggy. Because the fries are quite thin it’s not going to take long at all for the inside to cook, so a short(ish) sharp stint of high heat will focus on getting the outside crispy.
How long to bake sweet potato fries?
After around 15mins you want to take them out, flip them over and put the trays back in the opposite way. This will ensure an even roast across the board.
From there on out it usually takes around another 10-15mins until they risk burning. You will find they go slightly black but with baked sweet potato fries unfortunately that’s inevitable.
5. The aftercare
Once cooked, the key is to turn off the heat and open the oven door. This step is crucial for crispiness. Strangely sweet potato fries become more crispy as they cool, so let them rest for a good 15 mins. After, it’s finally time for the salt to draw out that final bit of lingering moisture and allow the final ‘crisping’ phase.
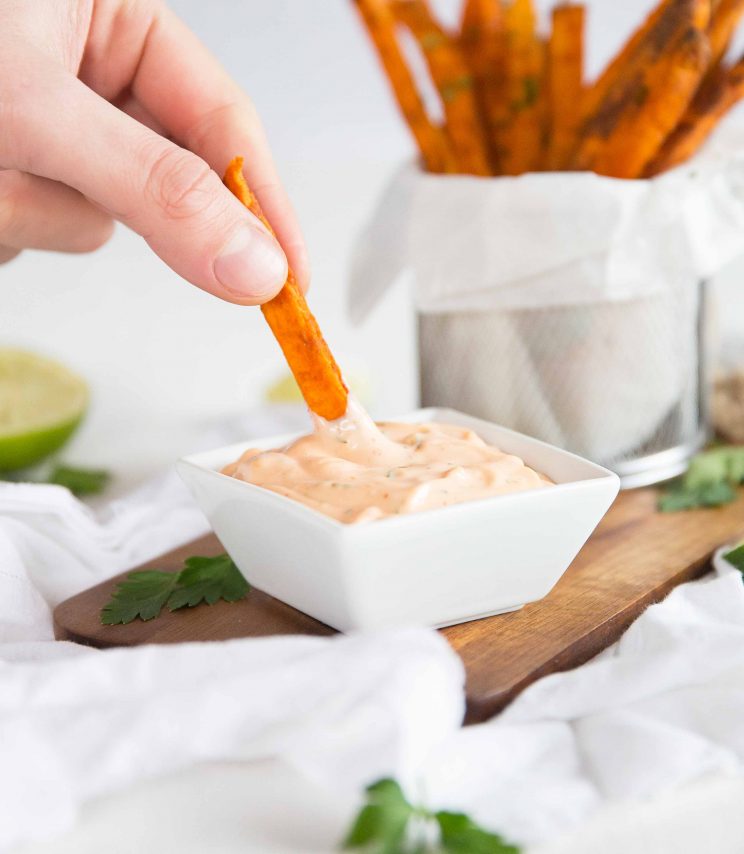
When it comes to serving sweet potato fries, I love serving with Sriracha Mayo or BBQ Mayo, but check out my Delicious Dips for more inspo!
Well there we have it folks, it’s over to you. Are you ready for the crispy sweet potato fry challenge?
How to make Truly Crispy Oven Baked Sweet Potato Fries (Full Recipe & Video)

Truly CRISPY Oven Baked Sweet Potato Fries
Equipment
- Large Greaseproof Baking Tray (use two if you need to)
- Large Bowl (for soaking fries)
- Large Zip Lock Bag (for coating fries)
- Sharp Knife & Chopping Board
- Potato Peeler
- Clean Tea Towel
- Spatula/Turner
Ingredients
- 2lb / 1kg medium Sweet Potatoes, peeled (2lb/1kg total BEFORE peeled)
- 2.5 tbsp Oil (with high smoking point e.g Avocado, Vegetable, Sunflower)
- 1 tbsp Cornstarch/Cornflour
- 1 tsp EACH: Chilli or Chipotle Powder, Paprika, Garlic Powder or seasoning of choice (see notes)
- Salt, to taste
Instructions
Preparing the Fries
- Slice the sweet potatoes in half (vertically) then slice them into 1/4" strips. Cut those strips into fries approx 1/4" thick.
- Soak in a bowl of cold water for 30mins (or as long as you have time for). Thoroughly dry with a kitchen towel. This step is essential to remove as much moisture as possible.
- Place in a large zip lock bag with cornstarch/cornflour. Zip the bag up and give it a mix around with your hands to completely and evenly coat the fries. Shake out excess cornstarch/cornflour.
- Zip open then add 2.5 tbsp oil alongside your seasoning of choice. Give them another mix around and ensure they're evenly coated. Don't add salt at this point.
Cooking the Fries
- Preheat oven to 430F/220C.
- Evenly space out on a good greaseproof oven tray (or lightly sprayed with oil or lined with parchment paper - just so they don't stick to the tray). Spacing them out if important so they don't steam on each other.
- Place in the oven for 15 mins. Take out, flip the fries and place the tray back in the other way to ensure an even bake. Cook for another 10-15mins or until just turning dark brown.
Aftercare
- I find the fries crisp up as they cool slightly, so I like to turn off the oven, open the door slightly and leave for 10 or so mins (or until they begin to crisp). However, if they're already looking pretty crisp, just remove them from the oven and leave them for a couple of minutes.
- Toss in a good pinch of salt, then serve up and enjoy!
Video
Notes
Your Private Notes:
Nutrition
Looking for more?
You’ll find plenty more delicious comfort food like this in my Debut Cookbook ‘Comfy’
For more similar recipes check out these beauties:
Delicious Fries Recipes
If you loved these Crispy Oven Baked Sweet Potato Fries be sure to pin them for later! Already made them or got a burning question? Give me a shout in the comments and pick up your free ecookbook along the way!
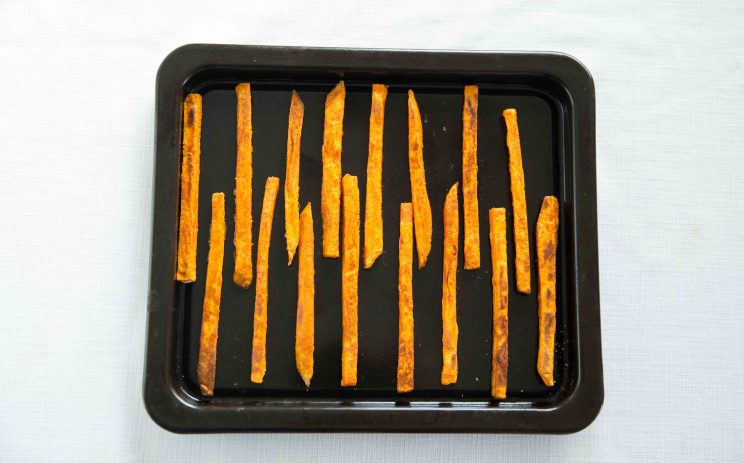


This was quite the process to make some fries, but I was pleasantly surprised with how they turned out. Were they the crispiest sweet potato fries I’ve ever had? No. But they were pretty darn close, which is impressive given they were baked. Things I noticed for those who haven’t tried yet:
1. The spacing between fries seemed to be most important. Those with the most space crisp up the best.
2. A good greaseproof tray is a must. I had mine on two trays, one was brand new and worked like a charm. One was a little older and didn’t work quite as well (few stuck).
3. Shorter fries were crispier than longer fries, so I recommend using small sweet potatoes.
All in all a fun/tasty project. Will repeat now I know what to expect with the method.
Great to hear these were a success, Barbara! Thanks for popping back for such a thorough review 🙂 C.
You totally broke the code on limp sweet potato ! Thank you it will be my only way to cook them from now on! Thanks so much. I think not salting before cooking made a huge difference.
Great to hear these went down well, Valerie! 🙂 C.
I was skeptical of trying this as I have had such awful luck with sweet potato fries in the past. I must say I was pleasantly surprised with how great they came out! Followed the recipe to a T (same seasoning). Keep a keen eye on them because they char quickly!! Mary.
So great to hear, Mary! Thanks for popping back for a review 🙂 C.
Sorry for the bad review, but I just made this recipe and followed the instructions carefully. The fries have stuck to the foil, and I find this to be so frustrating after all the prep work. Why not suggest oiling the foil first or using parchment paper?
Sorry to hear this happened! I have personally never had this issue with a good quality heavy-duty foil, otherwise I’d have certainly suggested an alternative. I’ve updated the post and added parchment paper as a suggestion. I hope you get to try these again with better luck! C.