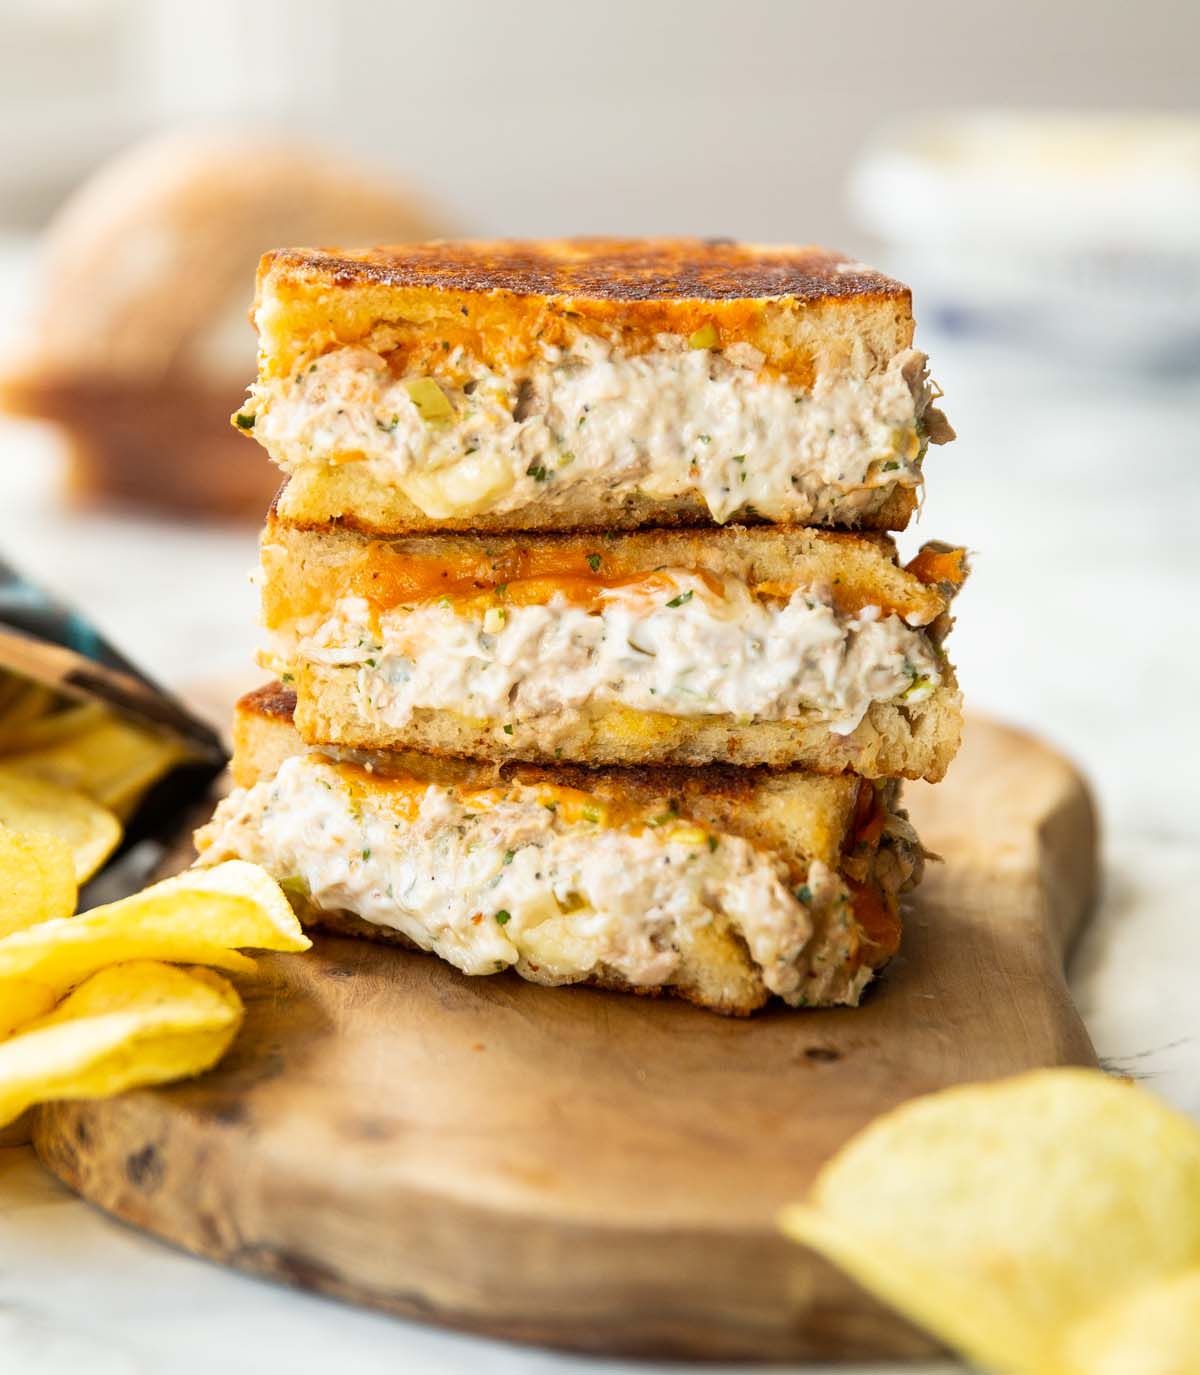
Here I’ll show you my favourite way to make the absolute classic Tuna Melt!
I would say a tuna melt is a guilty pleasure of mine, but I eat it FAR too regularly to be labeled that. There’s many different ways you can make this classic, but here I’ll show you the easiest and most delicious way. Follow me…
Tuna Melt Filling
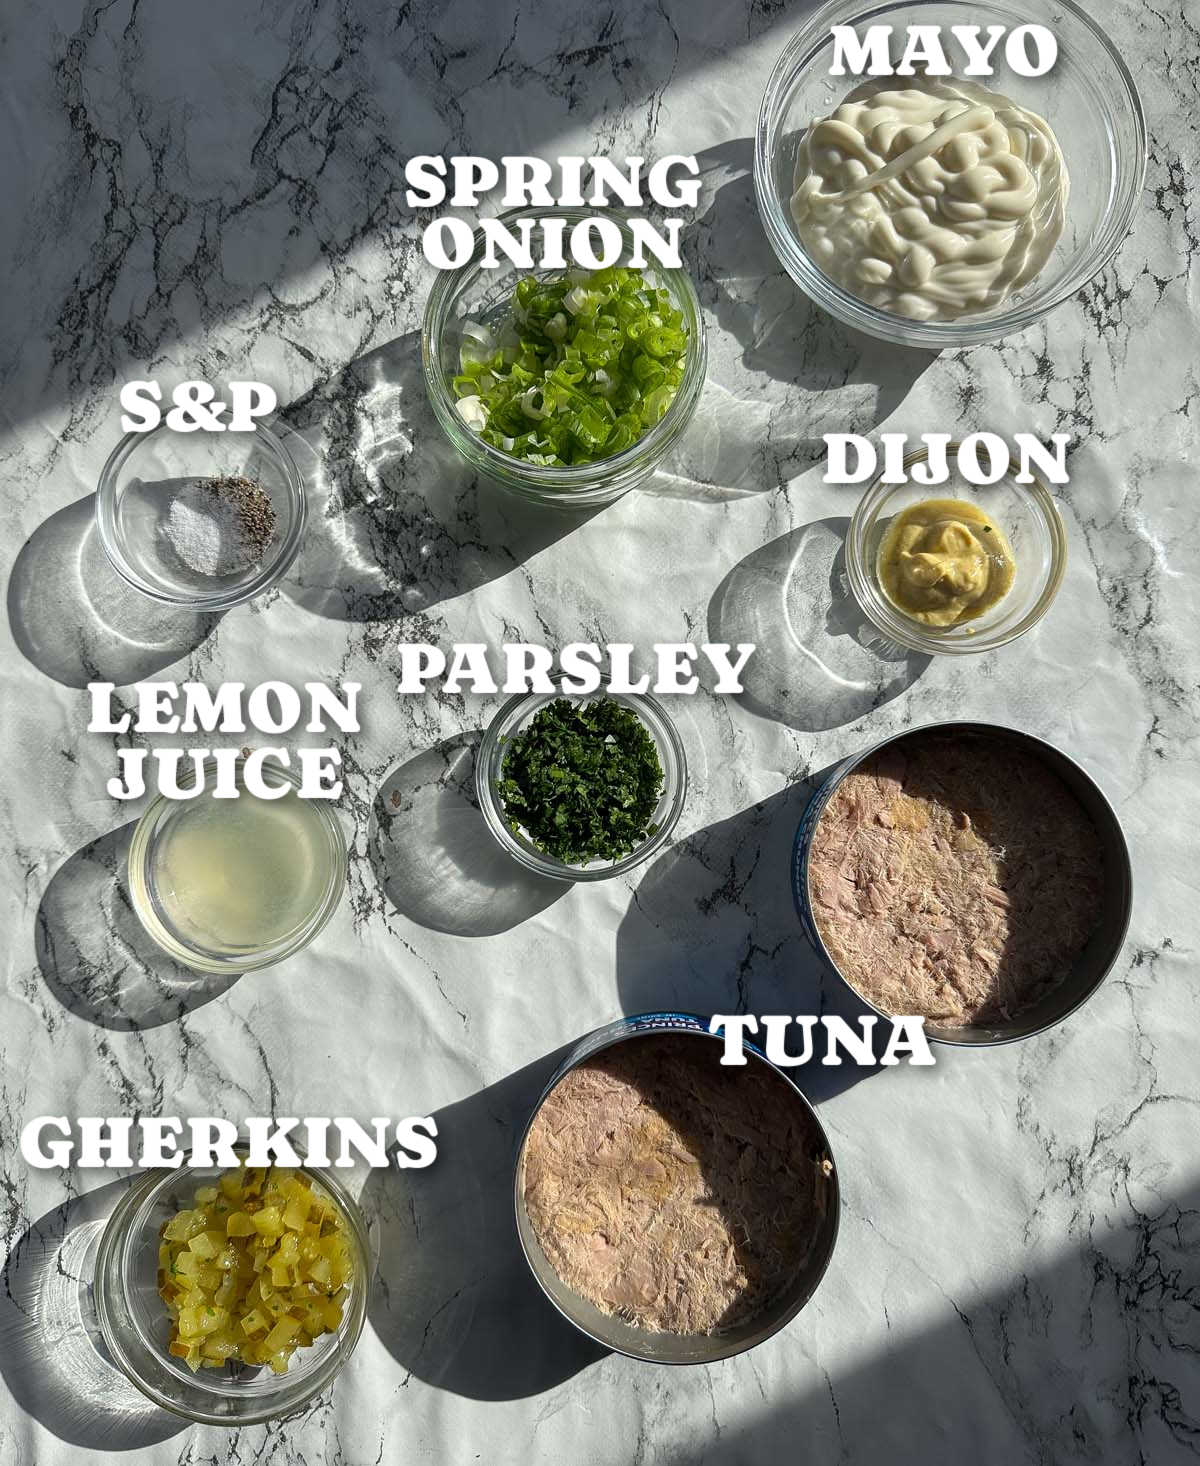
Admittedly when I first starting making tuna melts many moons ago, the filling would just consist of tuna and mayo. I mean, it’s nothing to shake a stick at, but there have definitely been some improvements over the years. For the best tuna melt filling here’s what you’ll need:
- Tuna – I use tuna in brine for the extra saltiness, but spring water or oil will work just fine.
- Mayo – must be full-fat for the best flavour!
- Dijon – this adds a gentle warmth and enhances the flavours of the cheese too.
- Lemon Juice – brightens up the filling and pairs delightfully with fish in general.
- Gherkins – or Cornichons. In the US you’re looking for Dill Pickles (or Bread & Butter Pickles). These add a little texture and a gorgeous tart flavour.
- Parsley – adds a fresh burst of flavour.
- Spring Onion – pairs perfectly with the tuna and adds a good punch of flavour.
- Seasoning – salt and black pepper to taste.
Recipe Tip
I recommend using tuna chunks over flakes. Flakes can sometimes turn a little mushy onces you’ve mixed everything together. Chunks hold their structure a little better.
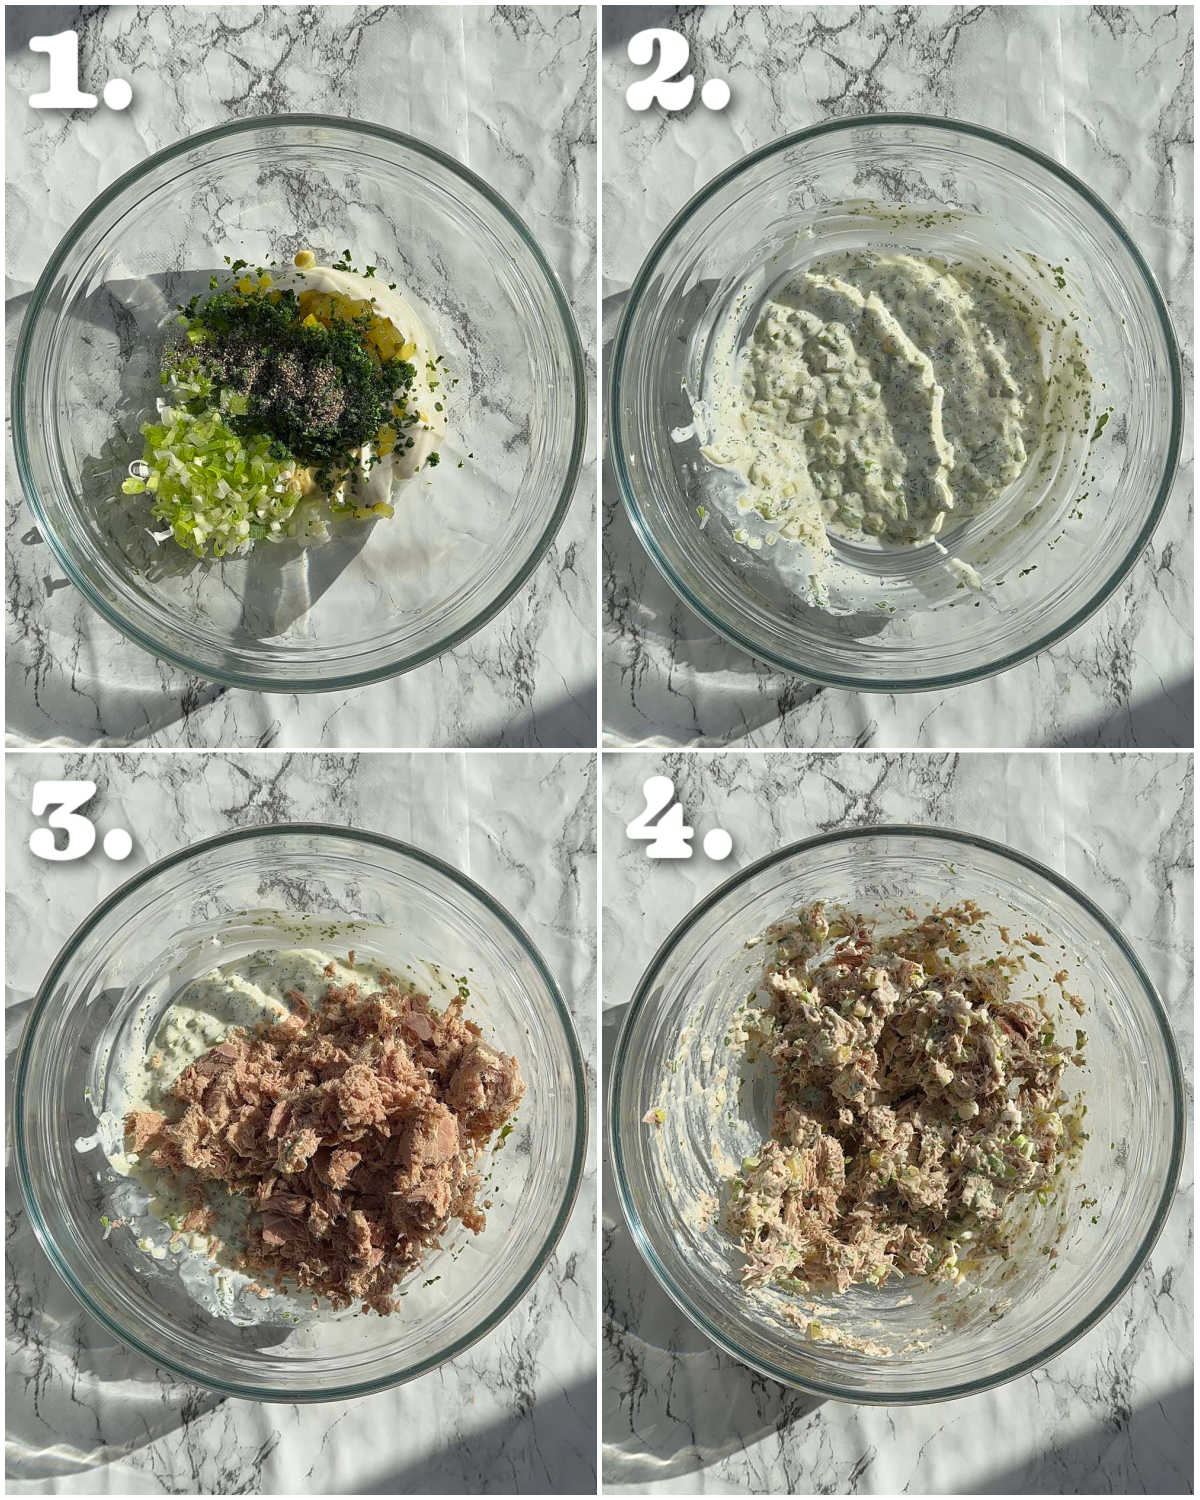
When it comes to making the filling, I actually like to mix every except the tuna. I then like to fold the tuna in until everything is combined. This helps everything evenly distribute without mixing the tuna into a mush.
You can make this filling ahead of time, just consider two things:
- Depending on how well you drained the tuna it might end up a little watery the longer it sits. Just give it a good stir before you load up the sandwiches. If on the other hand, it’s looking a little dry, just stir through a dollop of mayo to bring it back to life.
- The filling will be fridge cold, so I recommend letting it sit for 30 mins or so before you use it, just so it warms through properly as the sandwiches toast.
Process shots: add sauce ingredients to bowl (photo 1), mix (photo 2), add tuna (photo 3), mix (photo 4).
Tuna Melt
Alrighty, filling done and dusted. There’s just a couple of things to consider when making the sandwich.
The Bread
For a toastie/grilled cheese, you’ll want a sturdy bread like Sourdough. Here I’ve actually used a Pain De Campagne, which was fairly sturdy and worked quite nicely.
The Cheese
I love using a 50/50 mix of Cheddar and Red Leicester. You could use mozzarella for a nice cheese pull, it just doesn’t have as much flavour.
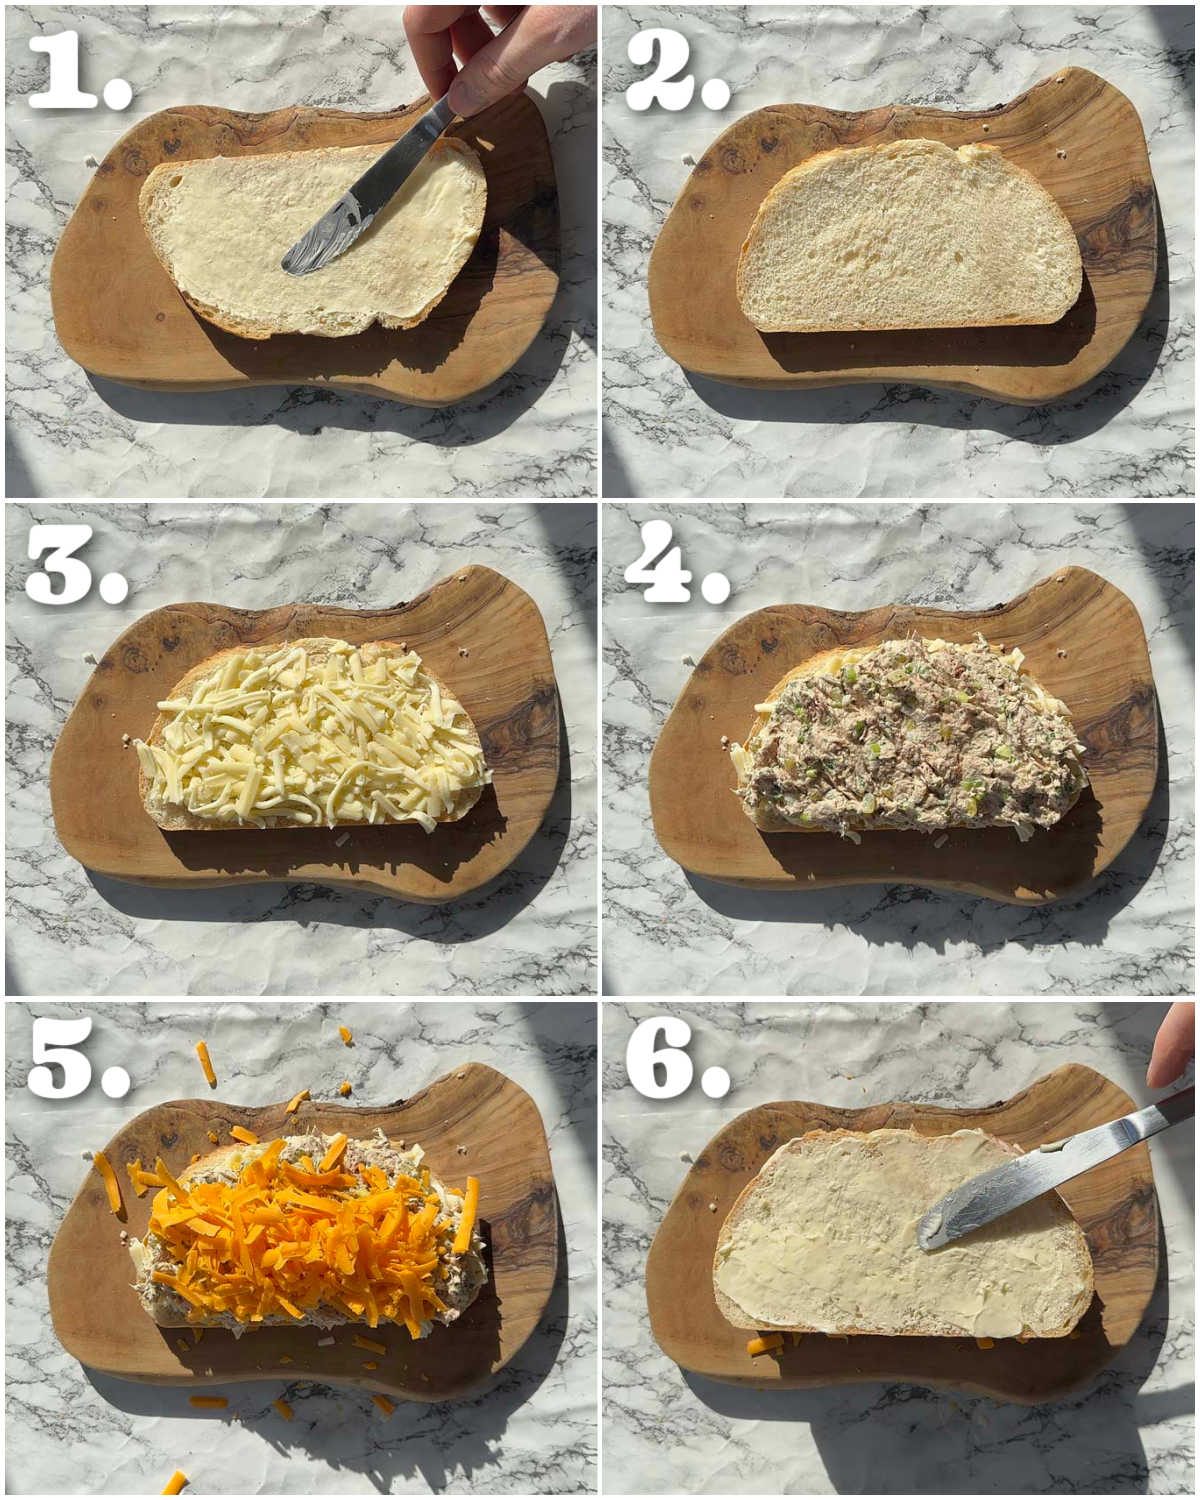
Process shots: spread bread with butter (photo 1), flip (photo 2), add cheddar (photo 3), add tuna (photo 4), add Red Leicester (photo 5), add bread and spread with butter (photo 6).
Pan-Fried Tuna Melt
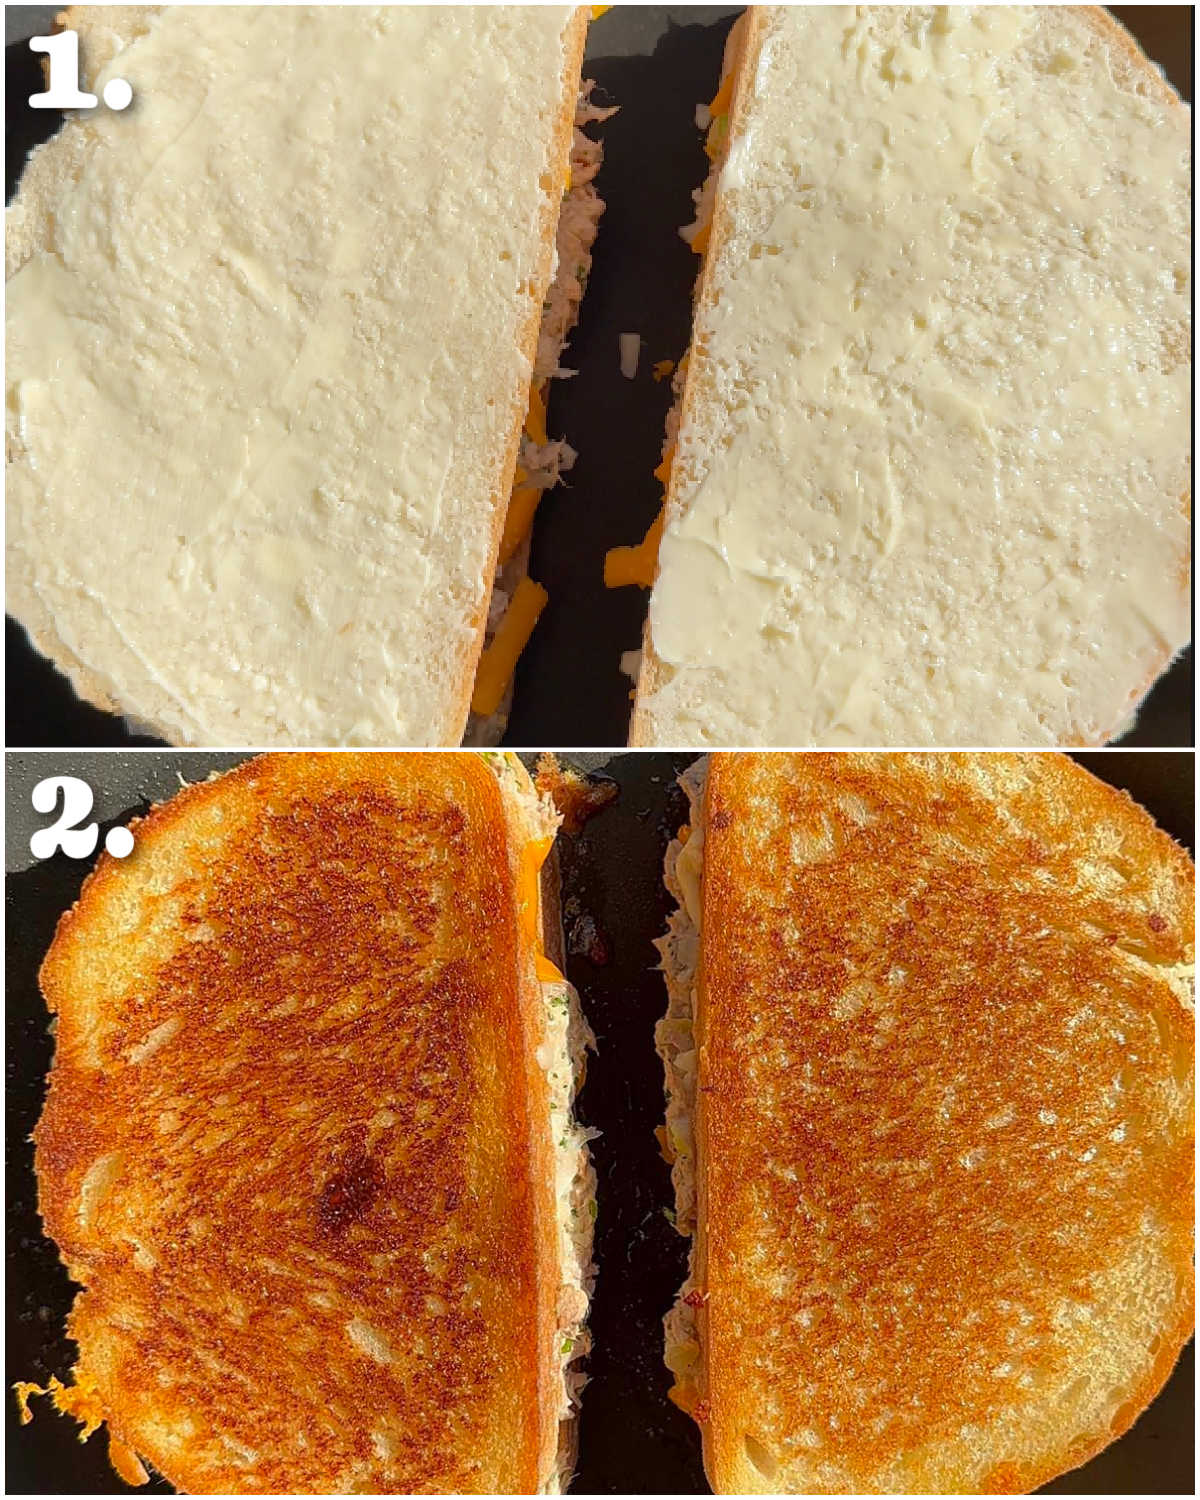
To get that gorgeous golden crust a tuna melt has got to be pan-fried. I recommend using a medium-heat and no higher. Too high and the bread burns before the cheese melts and too low and the filling gets too gooey and the bread won’t have a nice crunch.
Process shots: add sandwiches to pan (photo 1), fry both sides (photo 2).
Tuna Melt FAQ
The key is draining the tuna well. In the past I’ve just given it a quick drain and the excess water just eventually separates in the filling and turns it watery.
You’ll get a much better crust in the pan, but you can air fry if you’d prefer. Check out my Air Fryer Ham & Cheese Toastie for guidance.
You could use mayo if you’d prefer. I’m just a butter purist and you’re already using mayo for the filling, so it’s nice to have the rich, buttery flavour on the outside.
There’s all sorts of things you could add, but I’d highly recommend trying the recipe as stated. From there, common additions are red onion (instead of spring onion), fresh dill (in replacement or with the parsley), celery, capers and slice tomato.
Serving a Tuna Melt
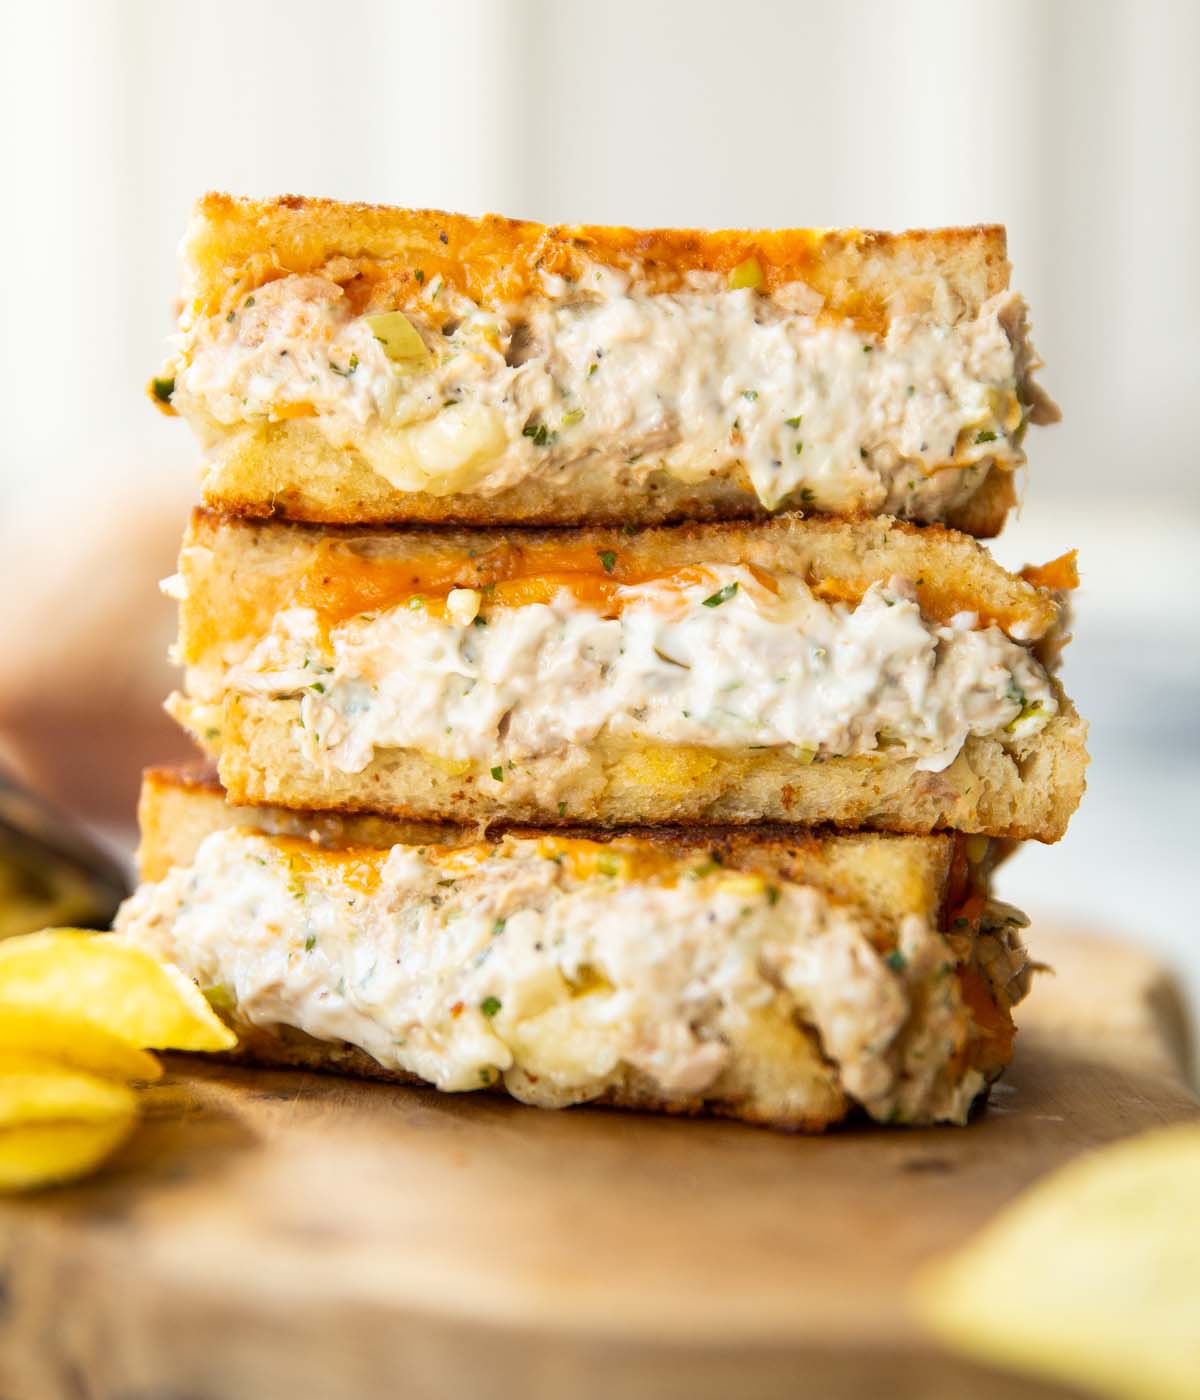
I like hot sauce alongside to serve, just so you get pops of spice, as opposed to the spice being straight through the centre. My favourite brand is Cholula. This is of course optional though. I also love serving with crisps, some of which do make their way inside the sandwich (the new Salt & Pepper Sensations works amazingly).
Alrighty, let’s tuck into the full recipe for this tuna melt shall we?!
How to make a Tuna Melt (Full Recipe & Video)
Classic Tuna Melt
Equipment
- Sharp Knife & Chopping Board
- Small Mixing Bowl
- Cheese Grater
- Bread Knife
- Large Pan & Spatula/Turner
Ingredients
- 80g / 1/3 cup full-fat Mayo
- 2 tsp Lemon Juice
- 1 tsp Dijon Mustard
- 1/8 – 1/4 tsp Salt & Black Pepper (see notes)
- 2 tbsp finely diced Gherkins/Pickles
- 1 heaped tbsp very finely diced Fresh Parsley
- 2 Spring Onions, finely diced
- 2x 150g/5oz cans of Tuna Chunks in brine (see notes)
- 6 medium-large slices of Bread (see notes)
- 120g / 4oz Cheddar, grated
- 120g / 4oz Red Leicester, grated (sub more cheddar)
- Butter, as needed
- Hot Sauce, to serve (optional)
Instructions
- In a small mixing bowl combine the mayo, Dijon, lemon juice, parsley, pickles, spring onion and salt & pepper. Drain the tuna well then stir it through the sauce until everything is evenly combined. Adjust seasoning if desired.
- Butter one side of each slice of bread then flip them over. Top with cheddar, then the tuna, followed by the Red Leicester. Add a second slice of bread on top and spread with butter.
- 2-3 at a time add the sandwiches to a large pan over medium heat. Fry both sides until deep golden and crisp with the cheese melted in the middle. If the bread starts to cook too quickly before the cheese melts just lower the heat.
- Slice in half and enjoy! I like a few lashings of hot sauce as I go.
Video
Notes
Your Private Notes:
Nutrition
Looking for more?
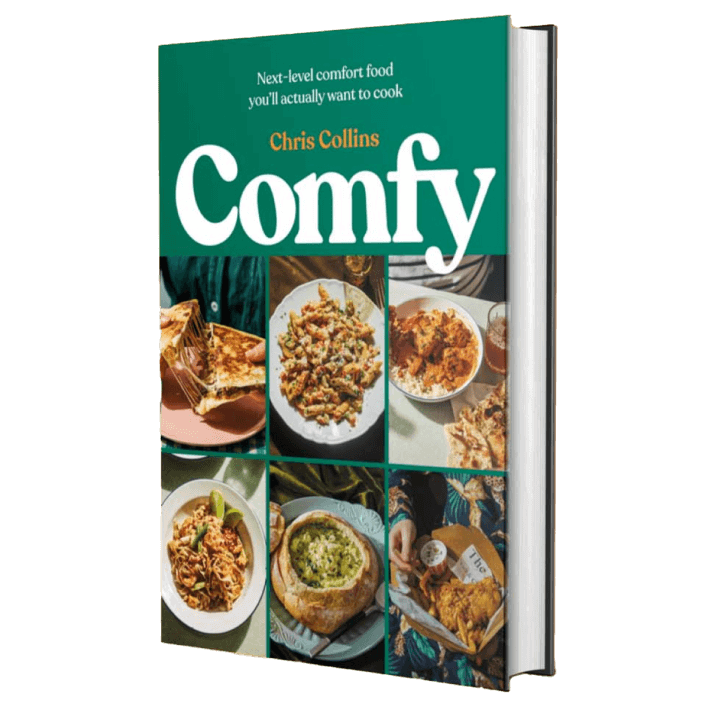
You’ll find plenty more delicious comfort food like this in my Debut Cookbook ‘Comfy’
For more similar recipes check out these beauties:


